WxLAN policies provide support for a variety of access policies for the wireless access points.
- Network segmentation.
- Role based policies.
- Micro-segmentation
- Least Privilege.
To build a comprehensive policy for wireless network, we need to first create labels for grouping and identifying users and resources. These are the two main components for designing a policy. There are some resources which are directly listed in add resource option in rule and can be added directly without creating the label. Policies are used for allowing/denying all or specific users from accessing all or specific resources.

From the image above, the user label goes on the left hand and the resources are grouped in the right.
Site vs Org policies
An organization policy configured under config template is only applicable to WLANs created under that config template. Thus, any user connected through that WLAN which is configured under config template is first evaluated for policy applied under that config template. If user does not satisfy any of org policy rule, then it is evaluated for Site level policies.
Labels
Labels allow us to categorize a user/group of users or a resource/ group of resource. Labels can be created at a Site level (Navigate to Site > Labels) or at an Org level (Navigate to Organization > Labels).
Labels created under a site can only be referenced at that site whereas labels created at the org level can be referenced only at the WLAN Templates. A variety of user labels can be created in the Mist Dashboard. Navigate to the Labels page on the UI.
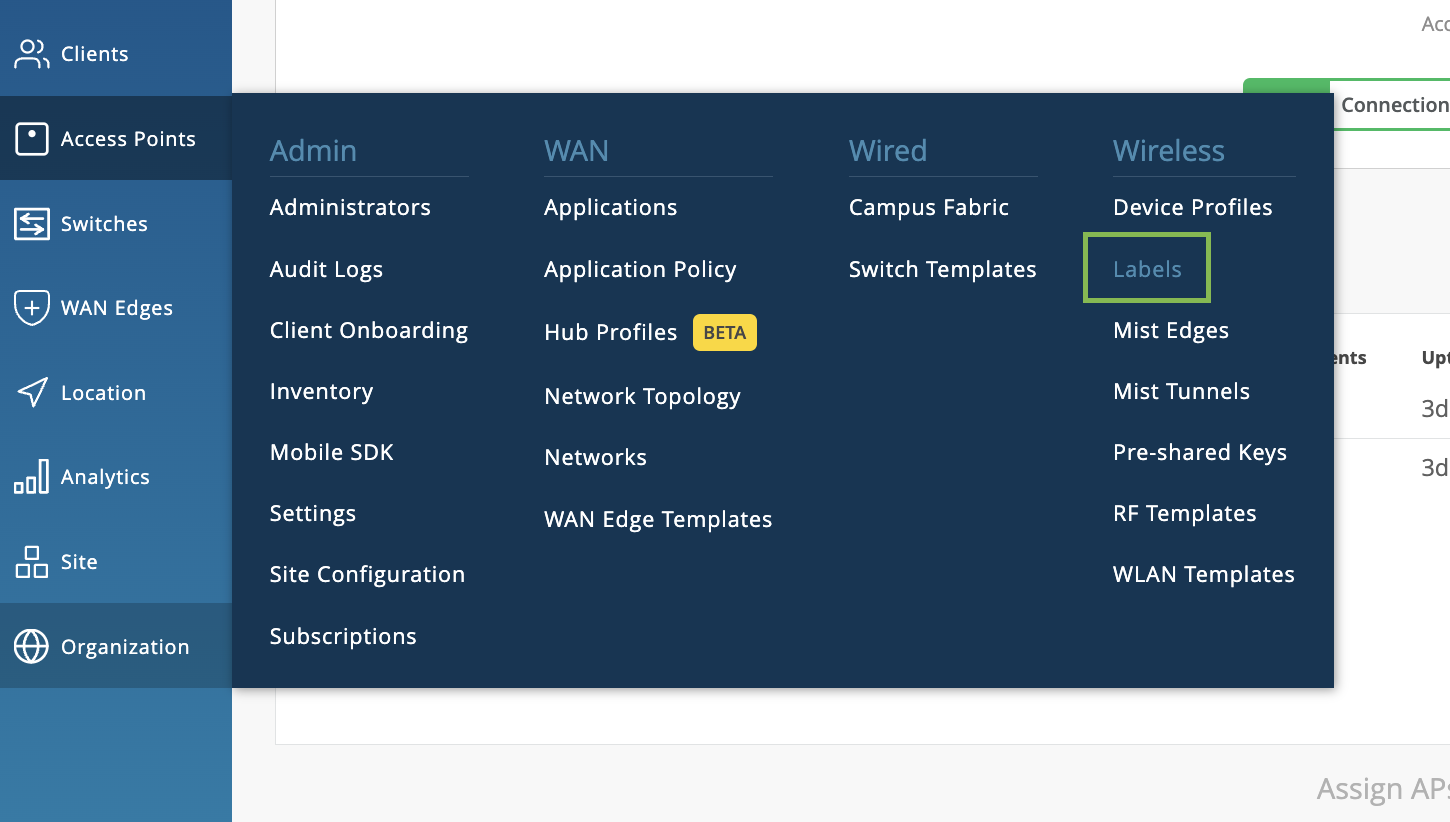
To create new labels, click the create button on the top right corner of the portal. Existing labels may be edited by navigating to this page and clicking on the existing labels and editing the values.
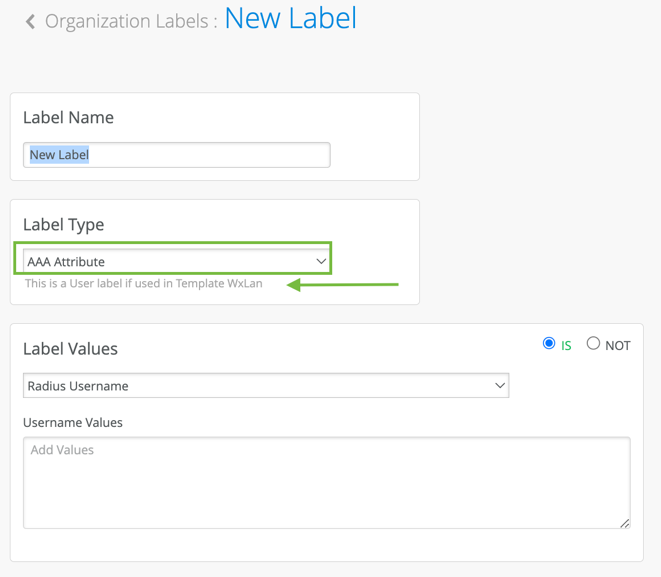
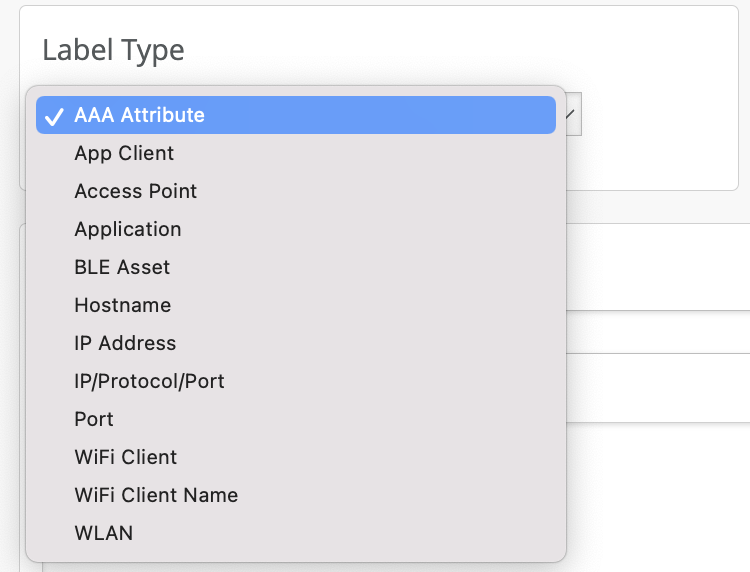
The Label type will specify if the label is a resource label or a user label.
User Labels
There are options to define the user labels as well based dynamically or statically on-
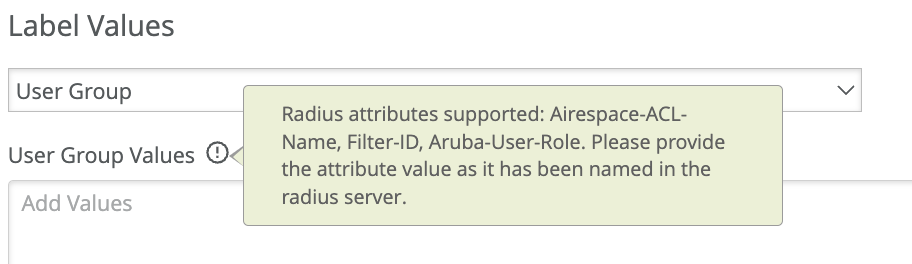
- AAA attributes
- Client Name
- Client Mac
- Users connected to a specific WLAN/WLANs
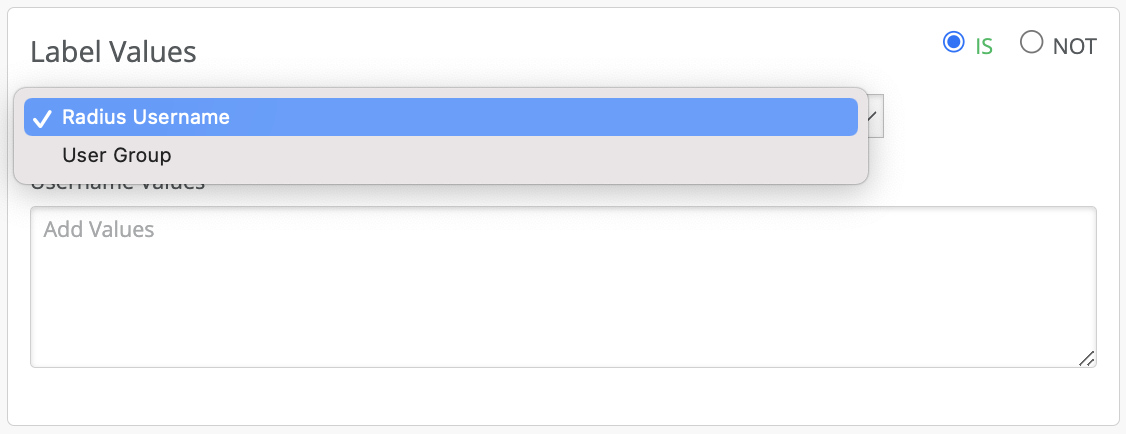
AAA Attribute is a powerful way to dynamically label the wireless clients. You can choose to label the wireless users based on the AAA attributes returned from the AAA server during authentication. Currently there are two options under AAA attributes “user group” or “Radius Username”.
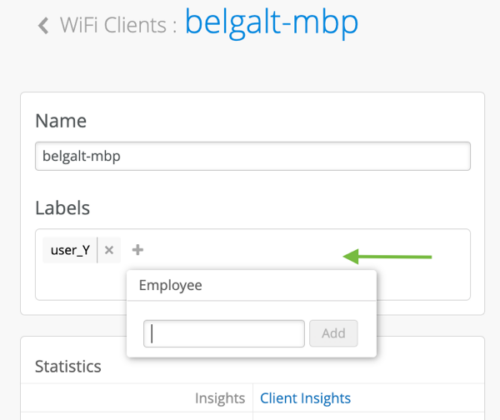
Users can be also assigned labels on the fly from a Wi-Fi Client details page. These labels are actionable only from the site policy pages.
Resource Label
The labels available for tagging resources for WxLAN policies are-
- Application
- Hostname
- IP Address – List of IPs or CIDR
- Port
- Emails / File Sharing / Online Backup / Social / Videos and Music applications (pre-defined by Mist)
![]() Resources cannot be dynamically discovered or based on AAA attributes like users. Resources need to be
Resources cannot be dynamically discovered or based on AAA attributes like users. Resources need to be
statically defined. For defining micro-segmentation policies using WxLAN policies refer to the micro-segmentation section below.
Now that we have gone through the label creation process, let’s look at how to write policies.
Creating a WxLAN policy
WxLAN access policies are very visual, easy to configure and read. Before we dive into how policies are written, let’s go over the basics of how the policies are read.
How a Policy and Policy Rule is read
- Policy is a set of rules written for user and resources. The set of rules is read from top to bottom and each rule is read left to right.
- If any policy is applied then for any connecting user, it starts reading from the first rule whether that client satisfies all the user labels or not.
- It keeps reading each rule top to bottom until it finds a rule where all user labels are satisfied for that user.
- It then checks what all resources are allowed/blocked for this type of user i.e., checks right hand section of the rule and accordingly block /allows resources.
- For each rule, operator is set to allow but resources can either be allowed or denied.
- Under Site > Network policy there is one default last row that is setup for all users and all resources. It can be either blocked or allowed. Any user not falling under any of the policy rules will fall under this row and either all resources will be allowed or blocked for this user based on applied operation.
- If a rule consists of only allow resource, then only that resource is allowed for the user and everything else is denied.
- If a rule consists of only deny resource, then only that resource is denied for the user and everything else is allowed.
- If a rule consists of few allow and few deny resources, then only allowed resources is allowed while everything else is denied.
- Resources on the right side are displayed alphabetically and applied most specific in the event of overlapping resources. If multiple labels are created for the same host and applied as resources in the same rule, it is suggested to use the ip/port/protocol label type
Policy creation and addition of rules:
- Each rule in the policy can contain multiple user and resource labels.
- The policies are read from left to right, which users have access to what resources and what they cannot reach.
- A rule gets applied to a user only when all the user labels of that rules are satisfied by this user.
- Any resources allowed /denied in that rule gets allowed/denied for that user.
![]() From the example below, a user with a role “employee” connecting to the “Employee_byod” WLAN cannot access the internal network. However, if the same user connects to the “Employee” WLAN can access all the intranet and internet sites. Hence both the labels must be satisfied to apply the rule to the user.
From the example below, a user with a role “employee” connecting to the “Employee_byod” WLAN cannot access the internal network. However, if the same user connects to the “Employee” WLAN can access all the intranet and internet sites. Hence both the labels must be satisfied to apply the rule to the user.

Policy creation Example
Example 1: Let’s take reference of policy shown below.
An org wants to apply policy such that:
- Department X, Y employees connecting with SSID1 has access to everything.
- department X employees connecting through SSID other than SSID1 to only have access to intranet.
- Department Y employees connecting through SSID other than SSID1 to have access to intranet as well as internet except for social media sites.
- Department Z employees connecting through any SSID to have access to everything.
- Any other users trying to connect will be denied access to all the resources.
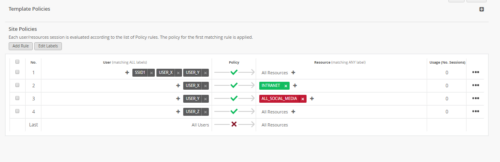
To achieve this using policy first it needs to create labels like:
- USER_X: label for department X employees (Wi-Fi client label with mac addresses)
- USER_Y: label for department Y employees (Wi-Fi client label with mac addresses)
- USER_Z: label for department Z employees (Wi-Fi client label with mac addresses)
- SSID1: Label for WLAN SSID (label of type WLAN)
- INTRANET: resource label for intranet (using IP address label type)
- ALL_SOCIAL_MEDIA: resource label for all social media (using app/hostname label type)
Finally creating policy with following rules in sequence:
- Rule 1: USER_X, USER_Y, USER_SSID1 Allow All resources.
- Rule 2: USER_X Allow RESOURCE_INTRANET
- Rule 3: USER_Y Deny RESOURCE_ALLSOCIALMEDIA
- Rule 4: USER_Z Allow All resources.
- Rule 5: “ALL Users” deny ALL resources.
Example 2: Captive Portal Pre and Post Auth
WxLAN rules can be written to enforce policies for pre auth roles and post auth roles.
When the user connects for the first time, based on the MAC auth rules on AAA server, the user would get a logon role. In this role, the user can only access IP/Port Entries to access only the captive portal splash page (Captive Portal IPs + Port 443/Port 80). Once the user is successfully authenticated, the authenticated user can now access other resources as desired.

More examples can be found here:
https://www.mist.com/wp-content/uploads/WxLAN_PolicyScenarios.pdf
Mist APs do not have DPI for application-level policy enforcement. It is FQDN based and may not work on phones vs laptops. For greater control, it is recommended to use firewalls for application-level policy enforcement.
Micro-Segmentation
There are a few options in Mist portal to implement micro-segmentation.
Network Isolation
For IoT devices, that should not talk to any intranet resources and only allowed to talk to the internet. This can be achieved by creating a rule to only allow the default gateway but block all the internal resources, including the subnet in which the client belongs. And allow the internet resources.
IoT client with IP 172.144.101.14, is allowed access to 172.144.101.254(default gateway) and Internet (0.0.0.0/0) but denied access to all the internal IP addresses (172.144.0.0/16).
![]()
Personal WLAN
Offers secure micro-segmented networks across a single WLAN. Create personal WLANs by generating unique keys to access the SSID. Mist’s Personal WLAN offers the defined end-user the ease of connection to all the defined devices to their specific group via a single SSID rather than the traditional practices of multiple SSIDs or the complexities of deploying multiple VLANs and ACLs., you simply go to the following menu as shown below and ‘click’ to turn it on. for the end-user in that specific Personal WLAN, s/he will have ease of connection, while providing automatic segmentations from devices using different keys.
In a multi-tenanted network use case, we need to isolate device communication only within the tenant. Personal WLANs is the preferred way of implementing this.
Click here to get the steps for implementing Personal WLAN
Isolation
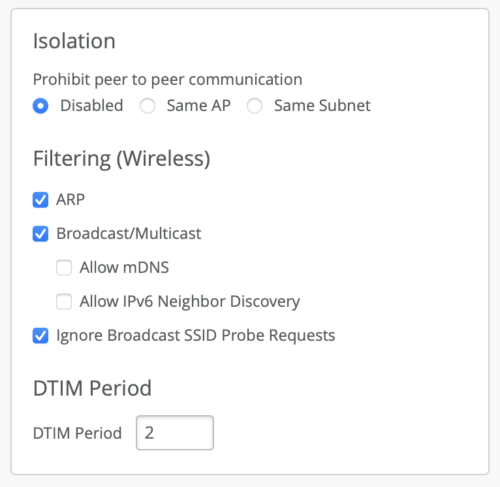
Mist supports a couple peer to peer (layer 2) isolation options. It can be found under WLAN configuration.
- Disabled – no peer-to-peer block enabled.
- Same AP – This blocks peer to peer traffic on the same AP
- Same Subnet – This blocks peer to peer traffic destined for the same subnet (wired and wireless). Please note clients should have DHCP addresses.
If you wish to block layer 3 traffic and above, please create WxLAN policies. More information on isolation here.
![]() This option requires 0.12 firmware or newer.
This option requires 0.12 firmware or newer.