Configure Sites and Variables
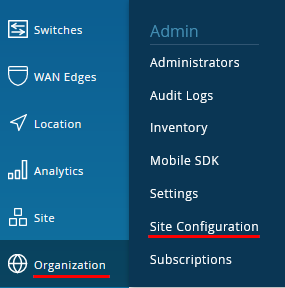
Go to Organization -> Site Configuration.
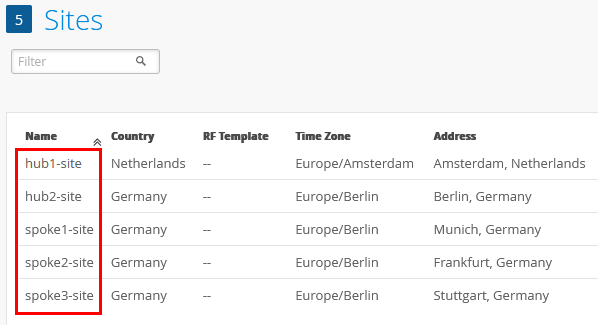
We will configure 5 sites with the names depicted below.
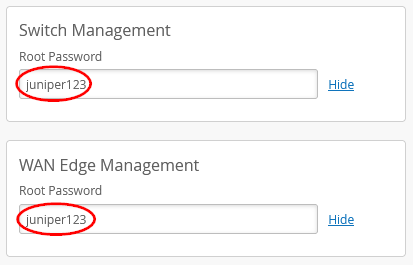
Make sure that in each Site you configure the root password for Switch and WAN-Router Management!
Be sure to populate the root password for WAN Edges and Switches in the Site. The moment you activate a device to be managed by Mist Cloud it will set a random root password for security if you don’t define it.
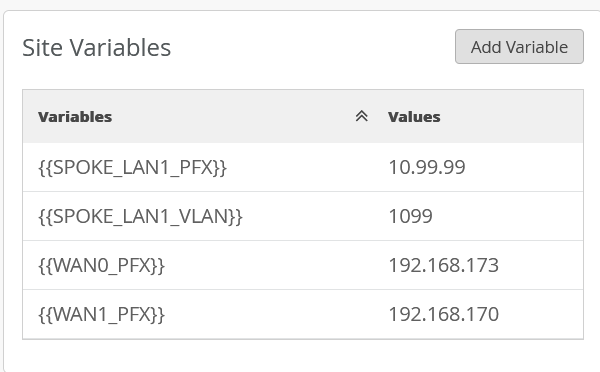
The Table below shows the variable settings we will need to add to make our Template (and other definitions work) for each site and function. We made one simplification in our lab to have only a minimum of variables to be defined. The IP-Prefix of all under- and overlay Networks will always be a /24 Subnet. Hence, we do not need to add this information in variables and can hardcode that into the Template. Apart from that the Templates are made in a way that one can straight re-use them in a customer environment to get things going fast. Here is what they are meant to be for:
- The Variables {{SPOKE_LAN1_PFX}}, {{HUB1_LAN1_PFX}}, {{HUB2_LAN1_PFX}}, {{WAN0_PFX}} and {{WAN1_PFX}} always contain the first three octets of an IP-Address or IP-Prefix or something else we want to build it from if the individual value is filled in. Examples:
- When we define an IP-Address for a Gateway we can fill in as configuration {{WAN0_PFX}}.1 and assumed the value of the variable is 192.168.173 the result would be 192.168.173.1 in this case.
- When we define an IP-Prefix we can fill in as configuration {{WAN0_PFX}}.0/24 and assumed the value of the variable is 192.168.173 the result would be 192.168.173.0/24 in this case.
- The Variables such as {{SPOKE_LAN1_VLAN}}, {{HUB1_LAN1_VLAN}}, {{HUB2_LAN1_VLAN}} contain the individual VLAN-ID of our Lan-Side Network. In our Lab we always use vlan-tagging at the LAN-Side to be ready when you want to support multiple Networks broken out at the same Ethernet-Interface later.
- The Variables {{WAN0_PUBIP}} and {{WAN1_PUBIP}} define for the WAN interfaces of our Hubs the Public-IP address where the Spokes (usually behind NATed environments) should initiate the Tunnels to. In our Lab environment this means:
- The IP-Address of Hub-Interfaces on the Internet Path will always be 192.168.129.x because this is the network over which we emulate an outside Public IP Address with being 1:1 NATed to the internal private IP-Address (usually 192.168.x.254).
- The IP-Address of Hub-Interfaces on the MPLS-Path will be the private IP-Address that is assigned to the Interface of the Hub itself (usually 192.168.x.254). We just repeat the interface expected value again.
| Site Name | Variable | Value |
| spoke1-site | {{SPOKE_LAN1_PFX}} | 10.99.99 |
| spoke1-site | {{SPOKE_LAN1_VLAN}} | 1099 |
| spoke1-site | {{WAN0_PFX}} | 192.168.173 |
| spoke1-site | {{WAN1_PFX}} | 192.168.170 |
| spoke2-site | {{SPOKE_LAN1_PFX}} | 10.88.88 |
| spoke2-site | {{SPOKE_LAN1_VLAN}} | 1088 |
| spoke2-site | {{WAN0_PFX}} | 192.168.133 |
| spoke2-site | {{WAN1_PFX}} | 192.168.130 |
| spoke3-site | {{SPOKE_LAN1_PFX}} | 10.77.77 |
| spoke3-site< | {{SPOKE_LAN1_VLAN}} | 1077 |
| spoke3-site | {{WAN0_PFX}} | 192.168.153 |
| spoke3-site | {{WAN1_PFX}} | 192.168.150 |
| hub1-site | {{HUB1_LAN1_PFX}} | 10.66.66 |
| hub1-site | {{HUB1_LAN1_VLAN}} | 1066 |
| hub1-site | {{WAN0_PFX}} | 192.168.191 |
| hub1-site | {{WAN1_PFX}} | 192.168.190 |
| hub1-site | {{WAN0_PUBIP}} | 192.168.129.191 |
| hub1-site | {{WAN1_PUBIP}} | 192.168.190.254 |
| hub2-site | {{HUB2_LAN1_PFX}} | 10.55.55 |
| hub2-site | {{HUB2_LAN1_VLAN}} | 1055 |
| hub2-site | {{WAN0_PFX}} | 192.168.201 |
| hub2-site | {{WAN1_PFX}} | 192.168.200 |
| hub2-site | {{WAN0_PUBIP}} | 192.168.129.201 |
| hub2-site | {{WAN1_PUBIP}} | 192.168.200.254 |
According to the Table above the resulting Spoke1-site variables would be:
According to the Table above the resulting Spoke2-site variables would be:

According to the Table above the resulting Spoke3-site variables would be:

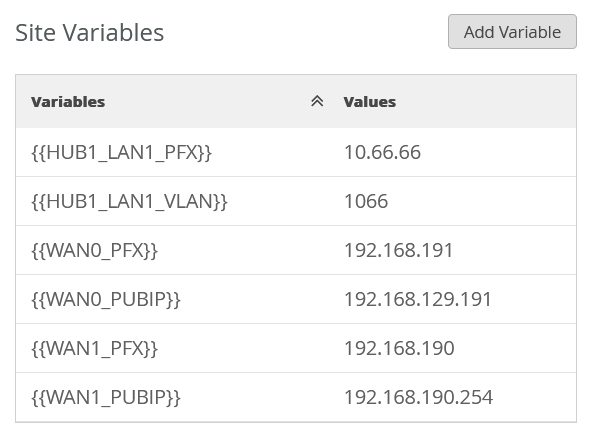
According to the Table above the resulting Hub1-site variables would be:
According to the Table above the resulting Hub2-site variables would be:
