Step #1
Login into your jump server <if not registered, register with your email>
Active Directory and LDAP Reimagined
Step #2
Create your Radius client:

Click on Radius tab> click on “+” button to add radius server
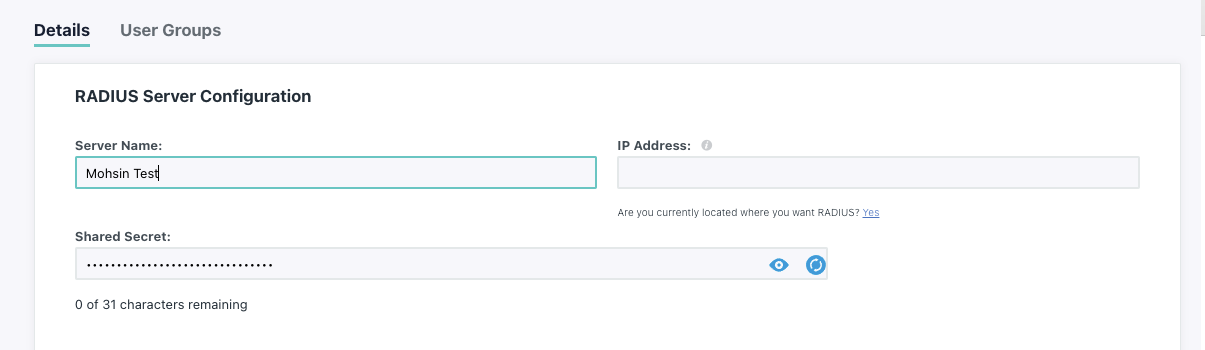
We need to make sure, we add the external IP as radius client IP and you can check your external IP from your AP dashboard:

Once you add IP and pre-shared key, you can click on the Save button.
Step #3
Create groups and users
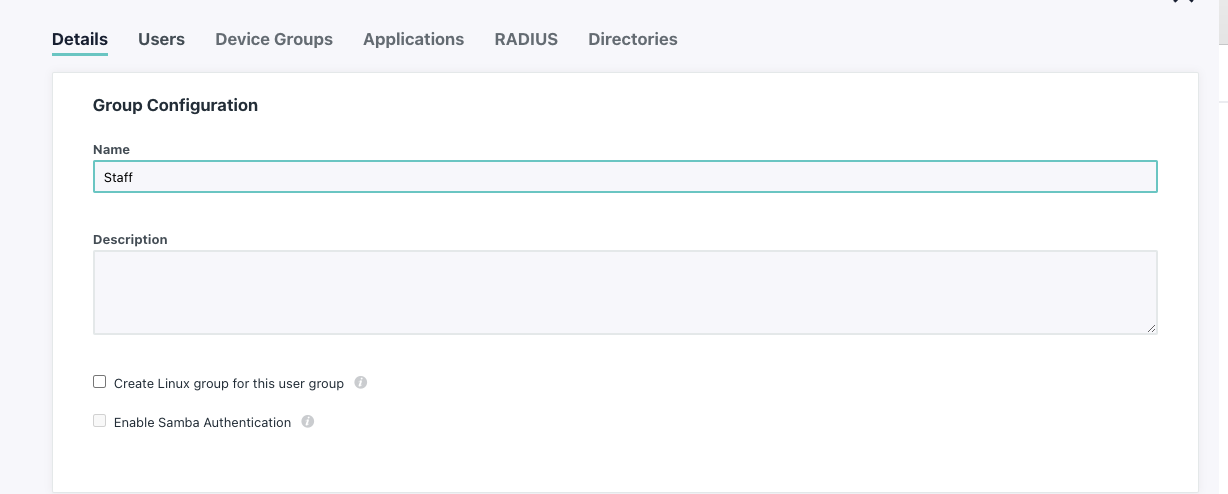
Under User Management>click on groups>click + button

Under details> add the name of your group
Under users,> map you users <if already created>
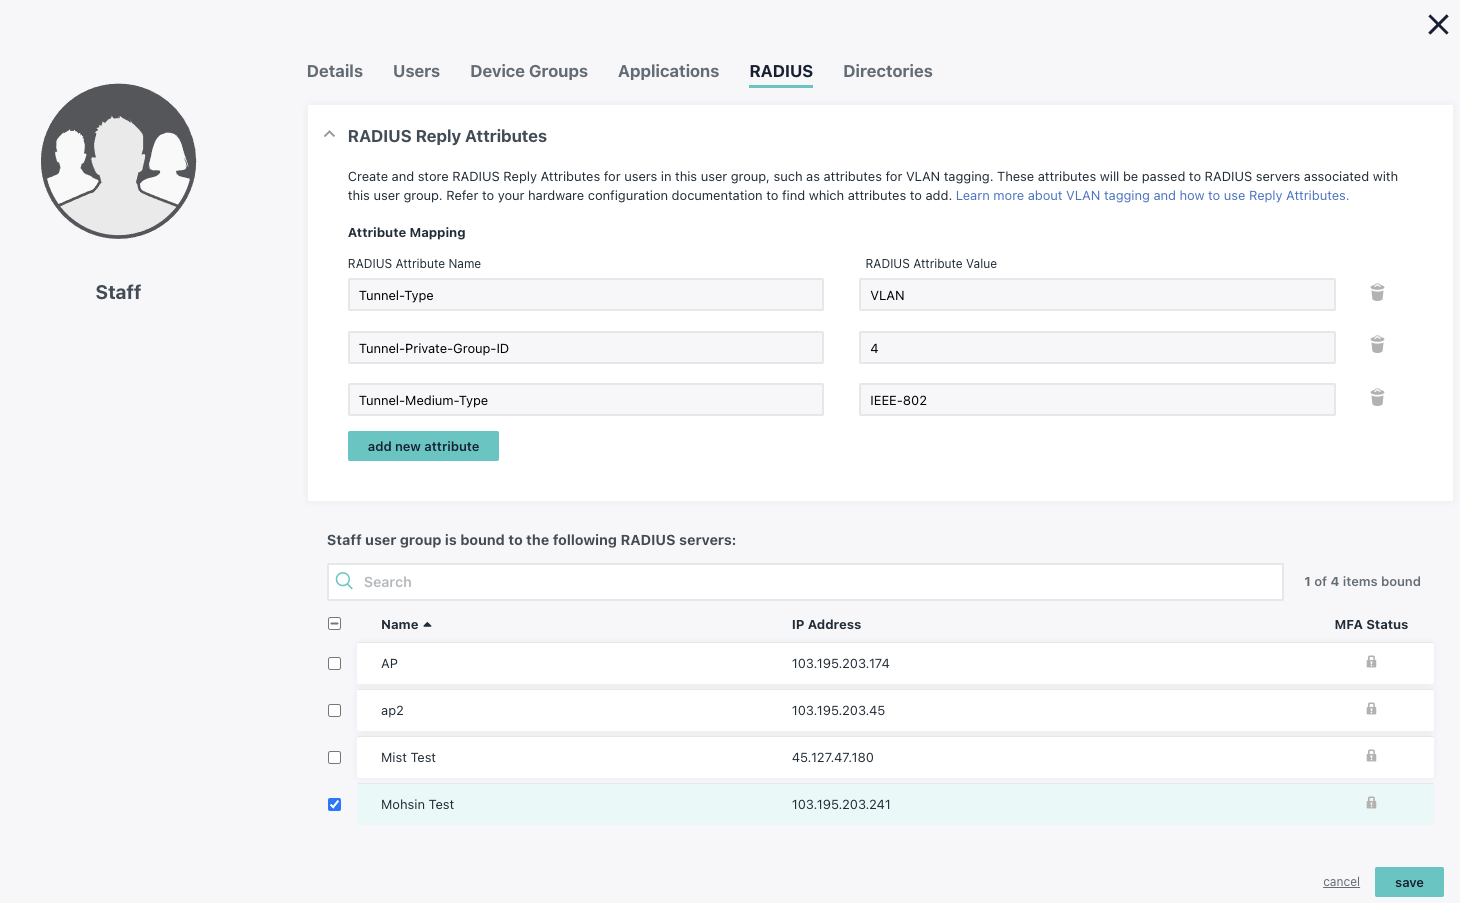
Under Radius> map your AP and configure radius attributes as per your requirements
I have used the VLAN attribute
Step #4
Create users and map them to the group
Under User Management>click on Users>click + button>select manual entry

Add user details and password
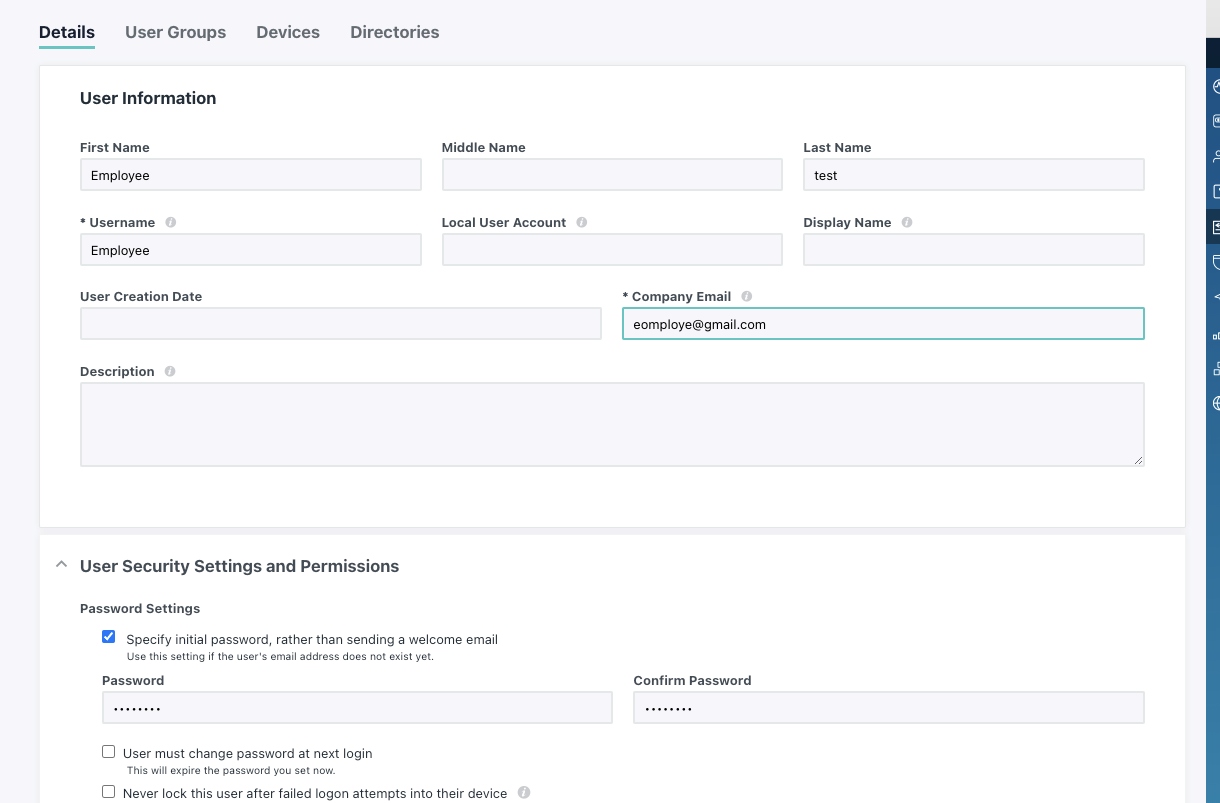
Map user to the group
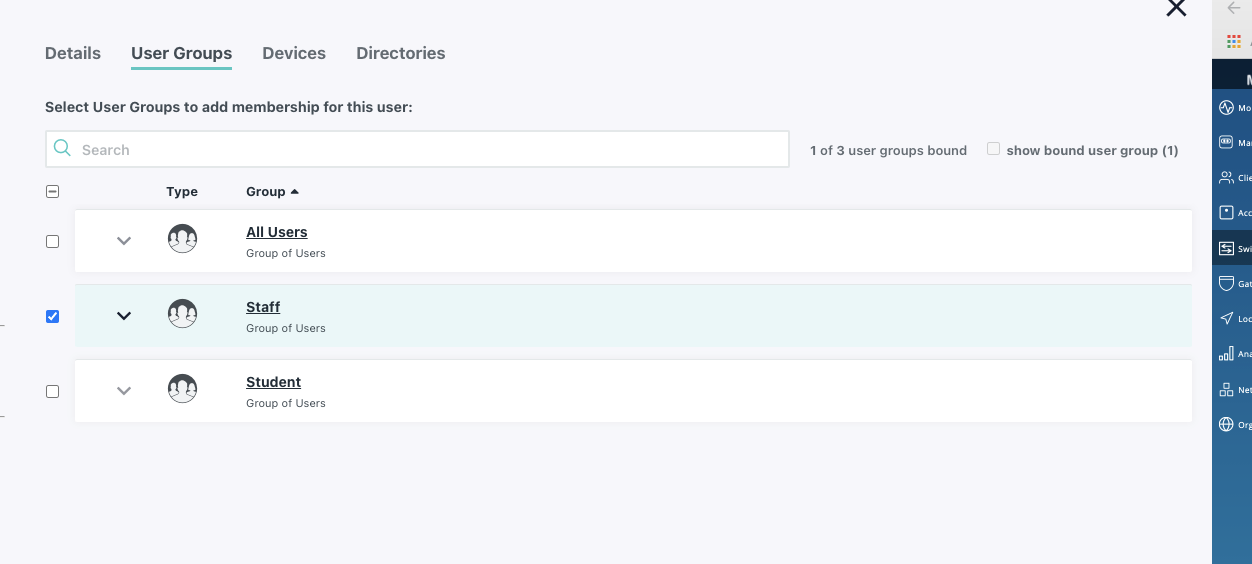
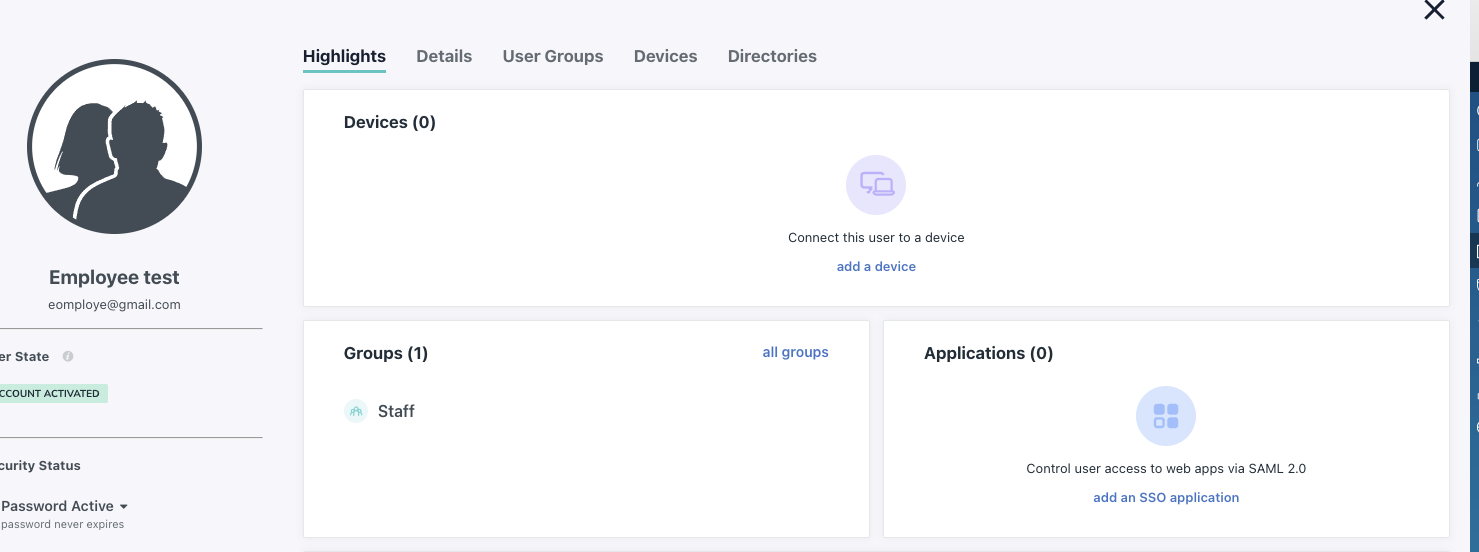
Validate if the users are mapped to the group
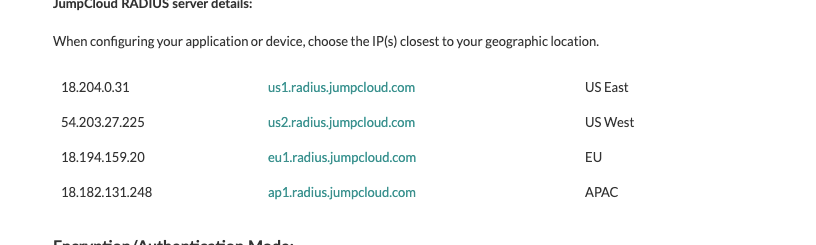
Please find the latest Server IP from below URL:
Step #5
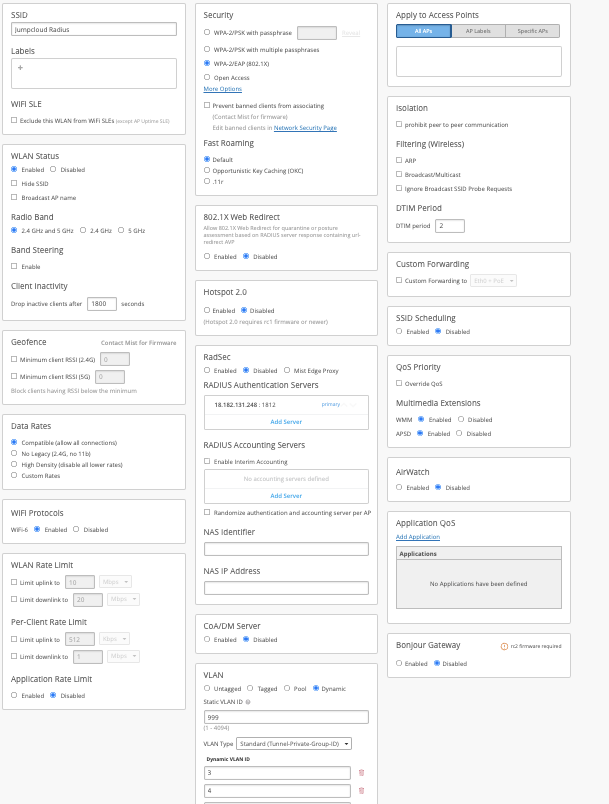
Configure WLAN:
Adding JumpCloud RADIUS to Juniper Mist Settings
To add JumpCloud as the RADIUS Auth Provider:
1. Log in to your Mist Network Portal.
2. Go to Network > WLANs.
3. Click Add WLAN.
4. Configure the WLAN:
- For Security, select WPA-2/EAP(802.1X).
- For RadSec, select Disabled.
5. Click Add a Server.
6. Configure the server:
- IP Address: Enter one of JumpCloud’s RADIUS Server IP addresses.
- Port: Enter 1812.
- Shared Secret: Enter the RADIUS server shared secret that you created and then copied in JumpCloud.
7. Click OK.
results:

from Radius pcap, you can see that tunnel-private-group=4
