Before you decide on a location, follow the steps in this section. Then the system will be ready for machine learning to find a path loss formula (PLF) for the area that the Mist AP is deployed, and for different client device models.
Scale the Floor Plan
To scale the floor plan,
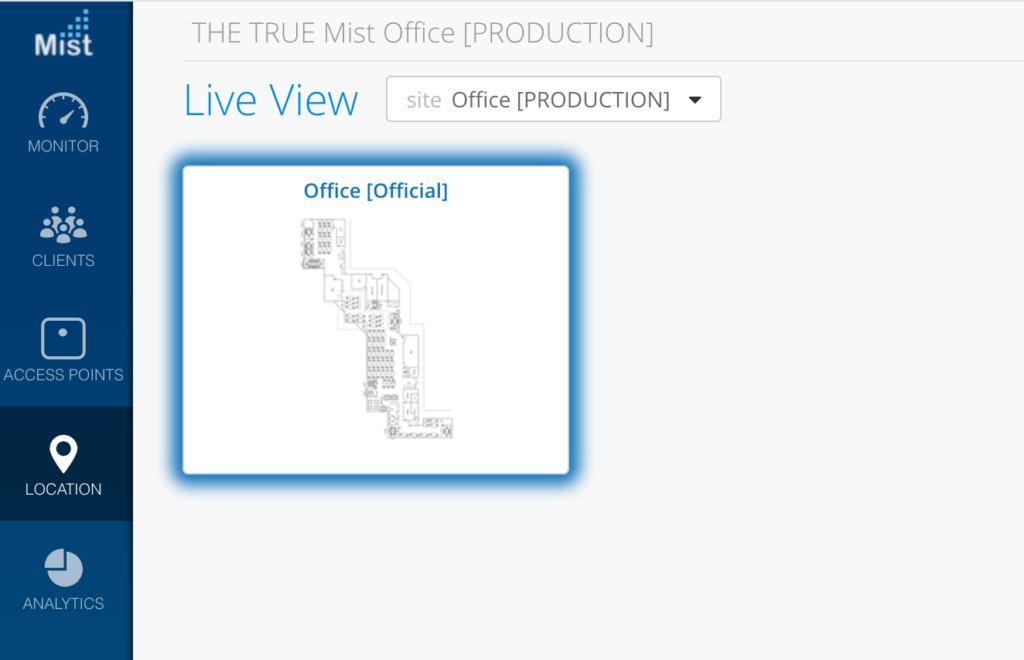
- Select Live View from the Location side navigation menu.
2. Select the site and floor plan you want to scale
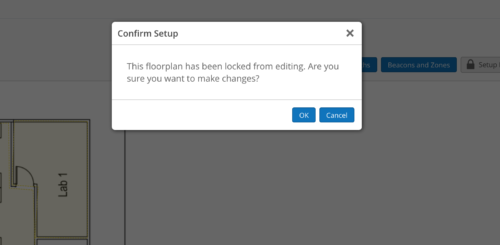
3. Click on Setup floor plan.
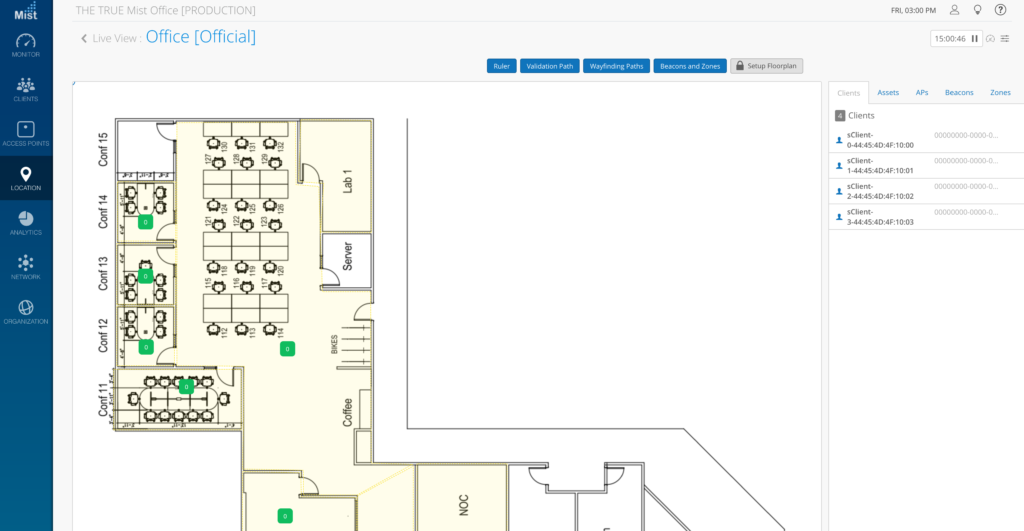
4. Confirm by clicking OK.
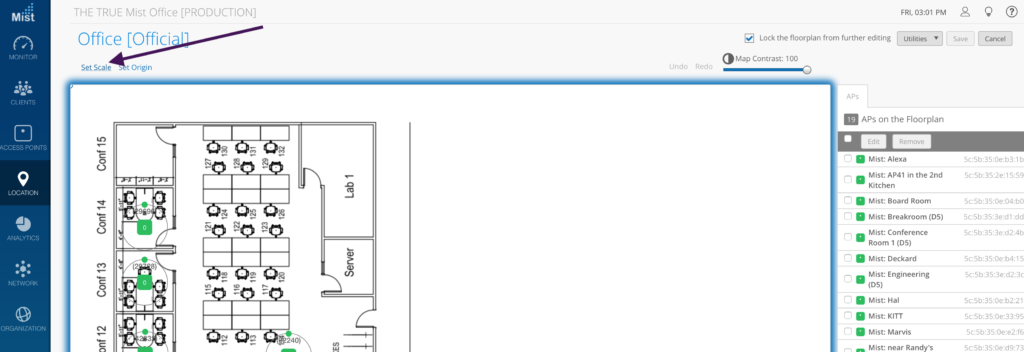
5. Select the Set Scale option.
6. Scale the floor plan and save.
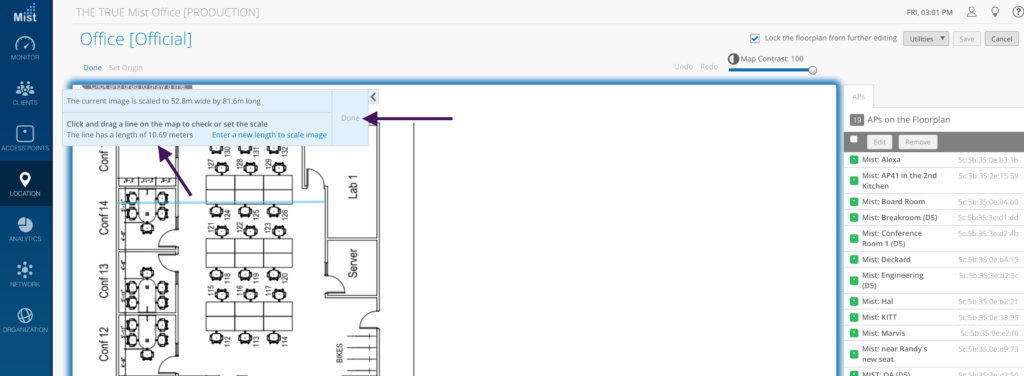
Scale can be thought of as the foundation for your location accuracy. If, for example, a room is 10 meters long but you scale the room to be 1000 meters long in the system, then when you physically walk 5 meters, the system UI would only reflect you as moving one inch. This gives the false impression that the location is broken; however, the location has actually placed you correctly based on the provided scale. Thus, it is crucial that your floor plan is scaled properly.
One trick if you don’t know the scale of a floor plan is to look for a standard door and scale that door to be 0.91 meters (3 feet). This should scale the floor plan appropriately. Next set AP placement.
Note: Set Origin can be used to modify the 0,0 coordinates of the floor plan. This is typically not necessary, and is most commonly used in conjunction with third party systems.
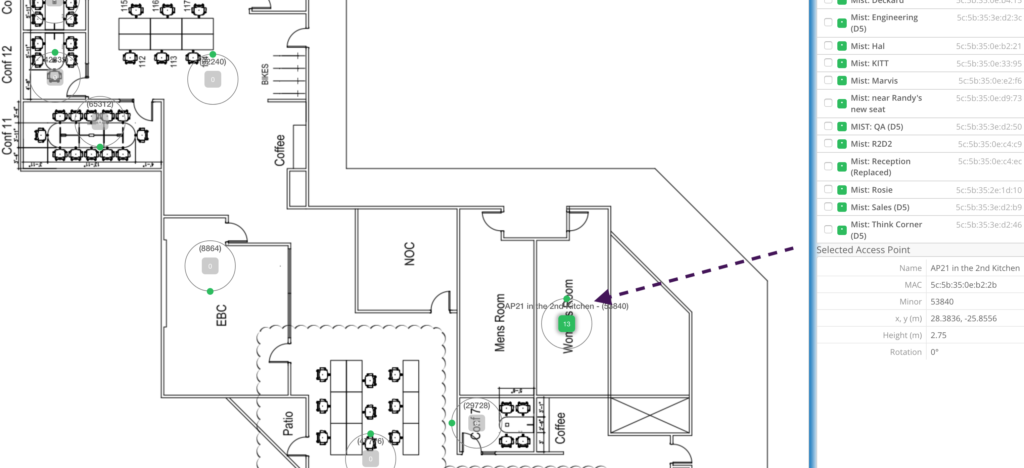
To Place an AP on the Floor Plan
- Select Live View from the Location side navigation menu.
- Select the site and floor plan you want to scale.
- Unlock the floor plan for editing.
- Select the AP from the Available APs option.
- Drag and drop the AP on the floor plan.
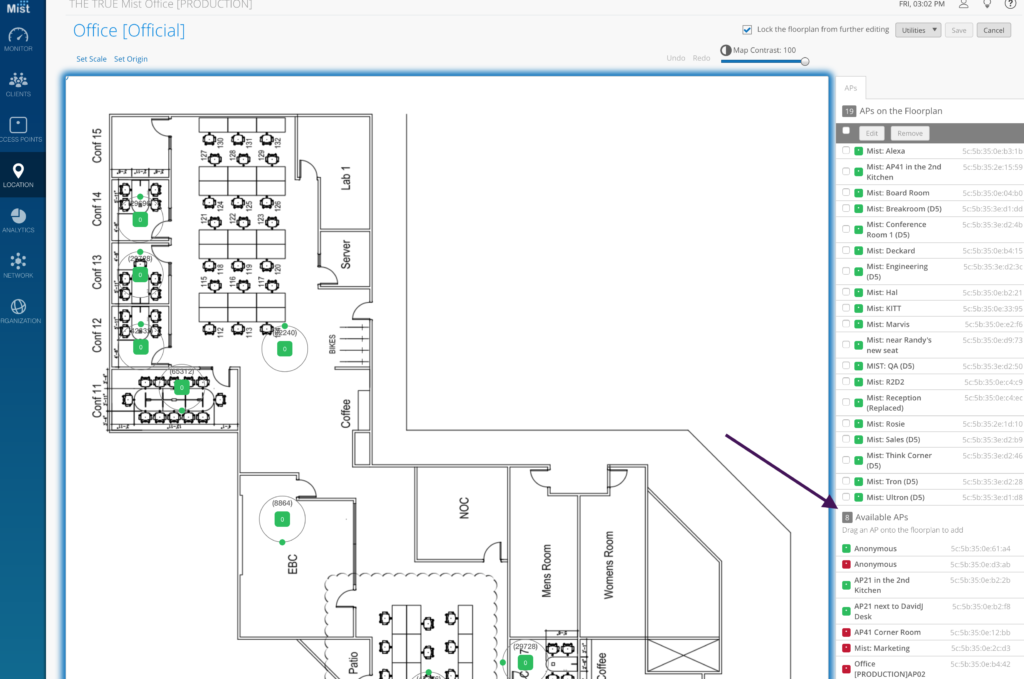
AP placement is simple yet important. In the UI, just drag and drop the AP onto the floor plan where the AP is deployed in the real world. For example, let’s say you have a 10 x 10 meter room and physically deploy the AP in the center of the room. You would do the same in the system by placing the AP on the middle of the floor plan in the UI. If you physically move that AP to the upper-right corner of the room, then you would also need to update the system by moving that AP to the upper-right corner of the floor plan.
It is important to ensure that the MAC address of the AP placed in the system matches that of the AP in the physical deployment. If the APs and their placements do not match, this will give the false impression that the location is broken; the system will show your location in a different area on the floor plan.
Set AP Orientation
- Click unlock for editing, select the AP for which you want to set the orientation, and rotate the small green dot on the outer ring of the selected AP.
- You can also select all APs and set all selected APs orientation in the “edit” section for a quick mass orientation edit.
AP orientation is a crucial part of location accuracy. Wherever the AP’s LED is pointing in relation to the map’s perspective, that AP’s orientation (or rotation) in the UI must match its orientation in the real world. If done incorrectly, the location engine will place your client’s location somewhere else.
Please note your map does not have to face true north. The easiest way to determine the AP’s orientation is to find a reference point on the floor plan when comparing the UI with the real world.
When setting the orientation in the UI, make sure the small green dot points in the same direction as the AP’s LED. A good tip is to orient all of the APs in a common space in the same direction, as this makes it easier to spot problems down the road.
Imagine drawing a line from the Mist logo towards the LED and continuing drawing that line past the LED. This is your imaginary line of where the LED is facing.
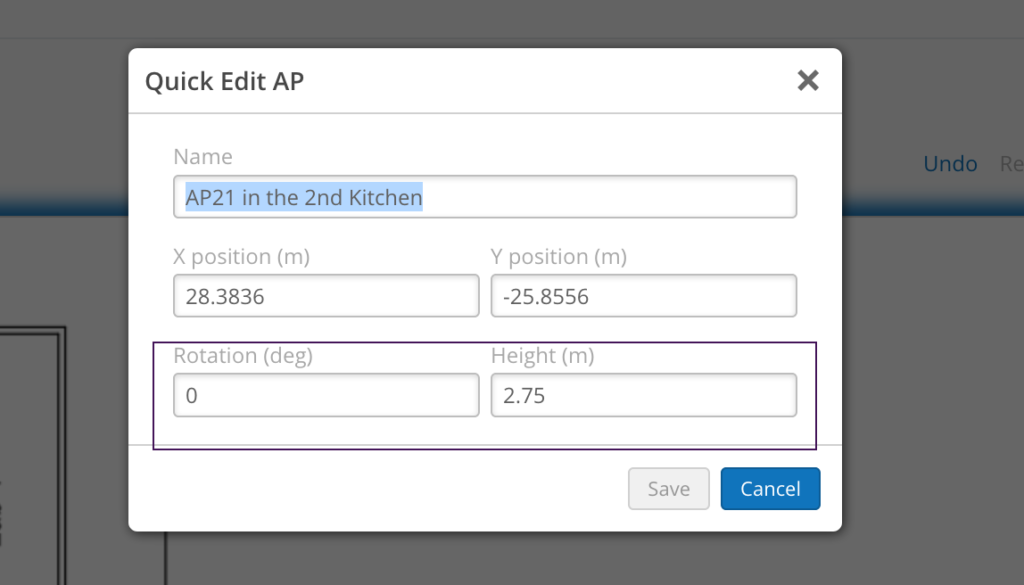
Set AP Height
- Select Live View from the Location side navigation menu.
- Select the site and floor plan you want to scale.
- Select the AP you want to set the height and click Quick Edit.
- You can now change the height of the AP
AP height is the last step in the initial deployment process and is important because the location engine takes this information into account for machine learning.
By default, we set all APs to 2.75 meters (9.02231 feet). Make sure to set the AP’s height appropriately in the Quick Edit section of the Live View.
All in all, the message is simple: The system and real world deployments must match as closely as possible. They do not necessarily have to be perfect, but the closer the UI deployment reflects reality, the better the location accuracy will be. Machine learning will continuously adjust and find a more optimal path loss formula (PLF) that works for your deployment. If you find your location experience is not ideal, revisit these steps. The majority of location issues come from an incorrect AP setup.
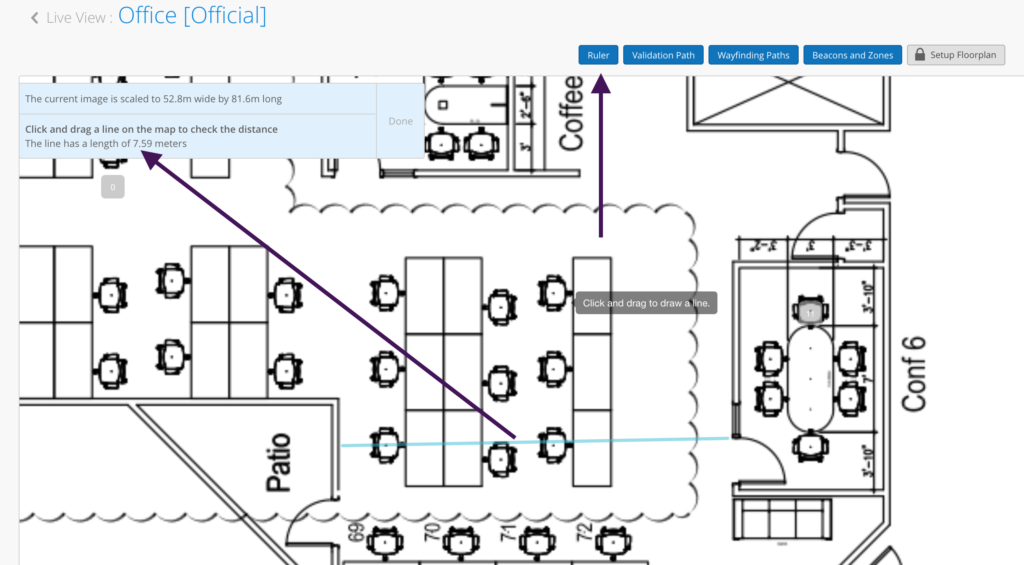
Ruler
A simple but useful feature is the ruler, which will provide immediate feedback if you see something that doesn’t look correct. This is useful because you don’t have to unlock the floor plan and accidentally risk moving something you didn’t intend to.