Create a Topology with EX-Switch and Mist AP for Wired/Wireless Assurance Lab
With this slight Lab modification, we can test the full-Stack End to End Solution for the Juniper enabled Branch. Naturally you need at minimum one additional EX-Switch (better two if you want to test VC as well) and if possible a Mist AP.

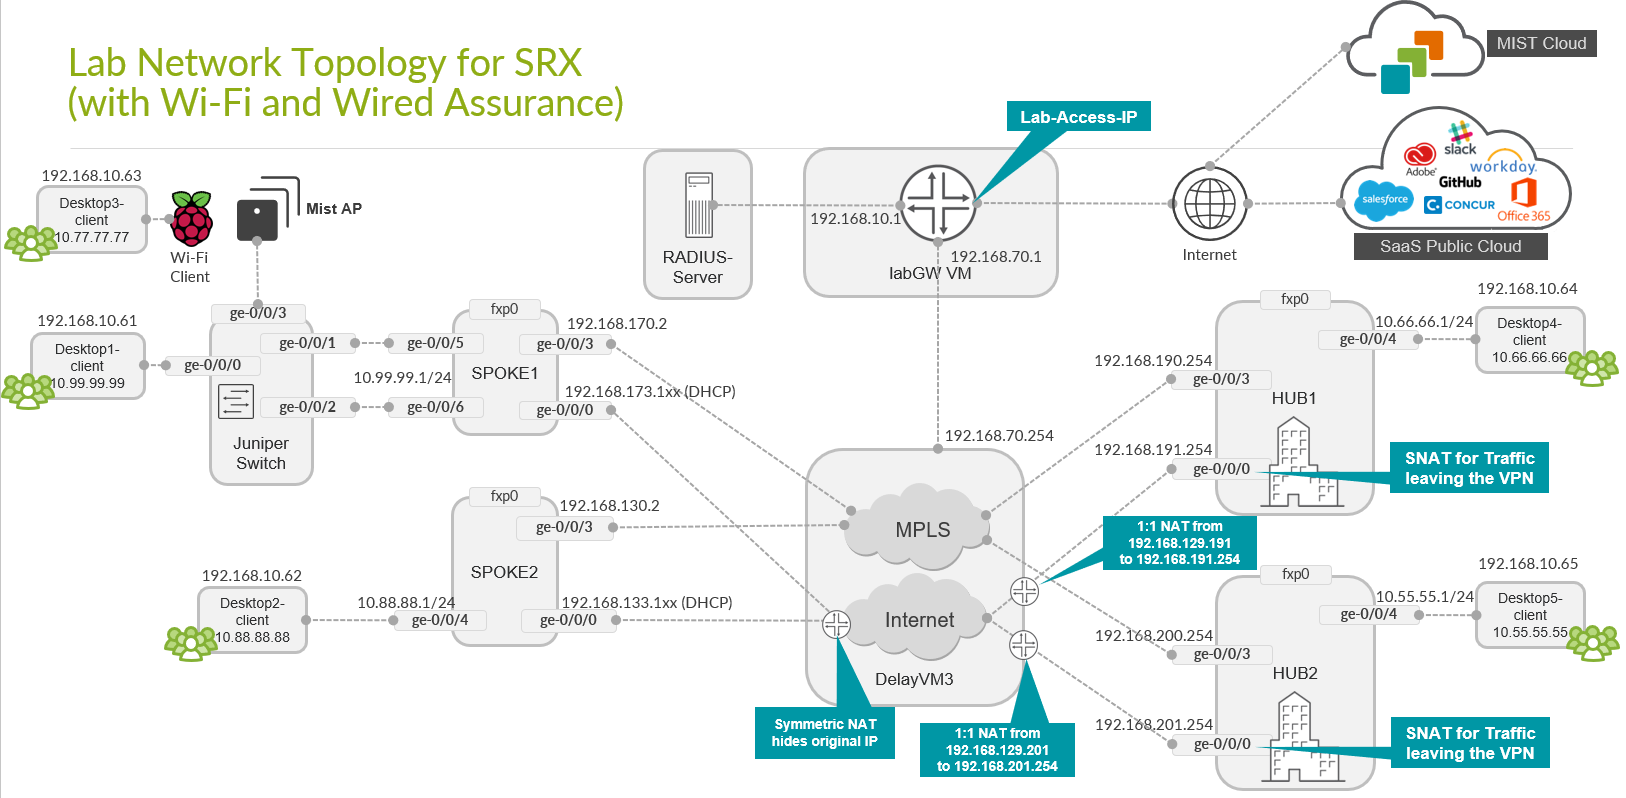
The new Topology should then look like the below
We must change some interfaces on the Lab-Switch. This is because:
- Desktop3 VM (VLAN1077) is re-used (and no longer attached to Spoke3) to act as a viewer for the Raspberry Pi acting as Wi-Fi Client. Alternatively one can use a local Notebook as well.
- Desktop1 VM (VLAN1099) is no longer directly attached to Spoke1 and now needs to be re-attached to the Interface ge-0/0/0 of the new Branch Switch.
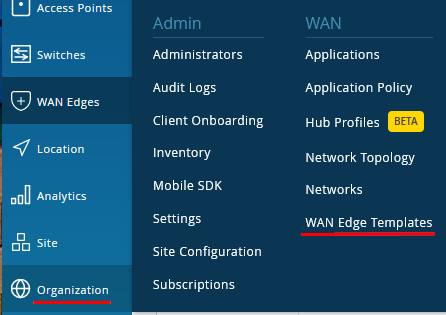
Next, we need to create a Template for the Switch attached Spoke. Go to Organization -> WAN Edge Templates.
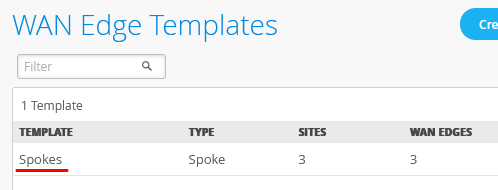
We create the new Spoke Template via GUI. Click on the existing “Spokes”-Template
Clone this Template
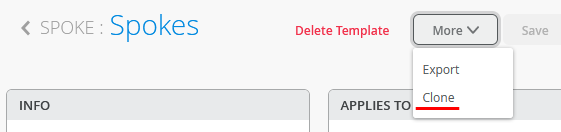
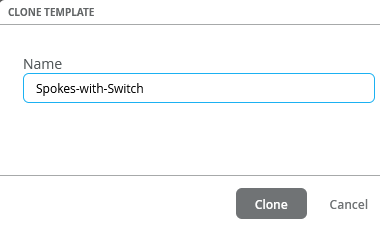
Configure the clone Name=Spokes-with-Switch and click on “Clone”
BEST PRACTICE: Always refresh your Browser after you cloned something. This will make sure all objects are REALLY refreshed!

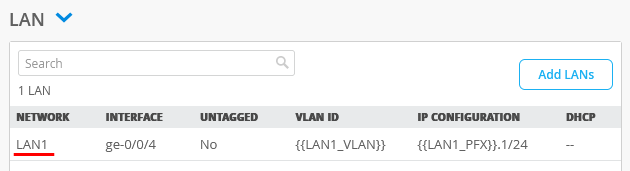
On the LAN-Interface configuration we will edit the existing Interface “LAN1”
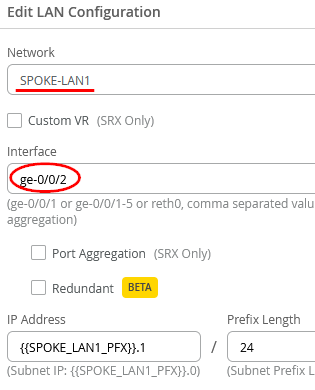
Change the “SPOKE-LAN1” LAN-Interface
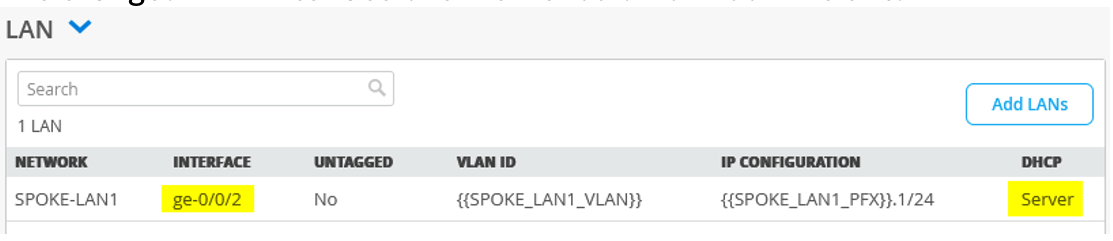
- We use two new interfaces that are bundled instead of the old. In our case the Interfaces should now be=ge-0/0/2
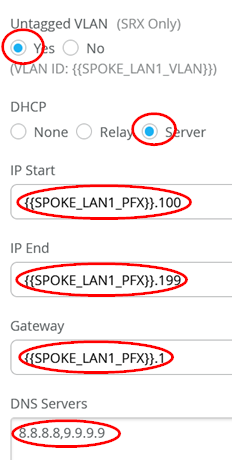
Further configuration on the “SPOKE-LAN1” LAN-Interface
- Set DHCP=Server
- Set IP Start={{SPOKE_LAN1_PFX}}.100
- Set IP End={{SPOKE_LAN1_PFX}}.199
- Set Gateway={{SPOKE_LAN1_PFX}}.1
- Set DNS Servers=8.8.8.8, 9.9.9.9
The changed LAN-Interface overview should now look like this.
Save your changes.

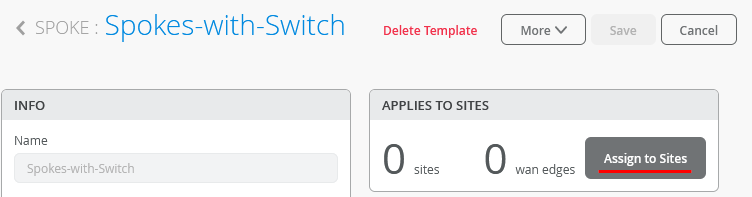
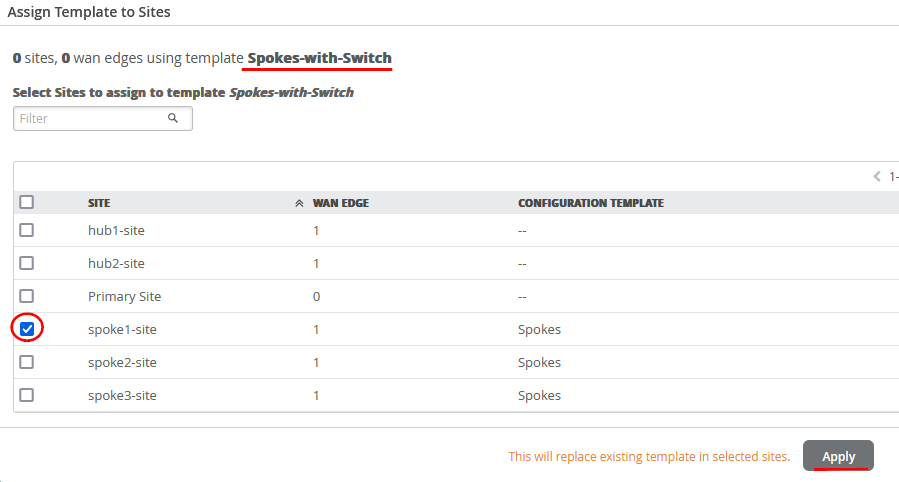
Now we need to assign the new Profile to a Site to be used then.
Make sure you use the right Template and then change it for spoke-site1. The hit “apply”.
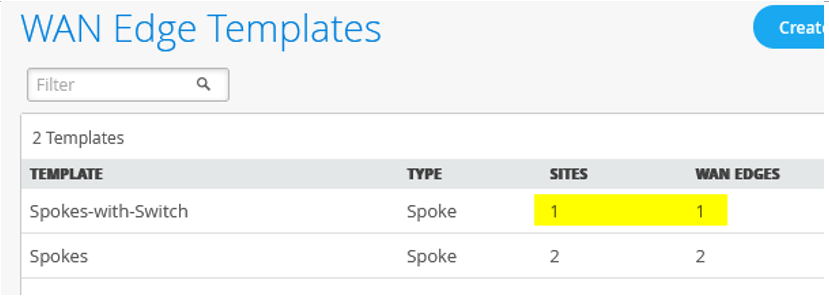
Review your Template Overview Pane
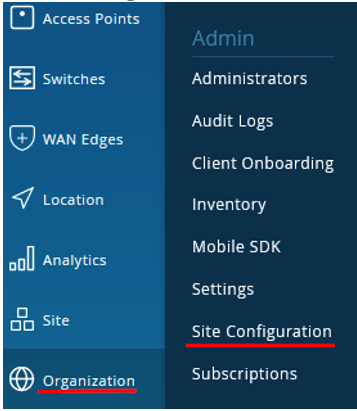
Go to Organization -> Site Configuration
Click on the site “spoke1-site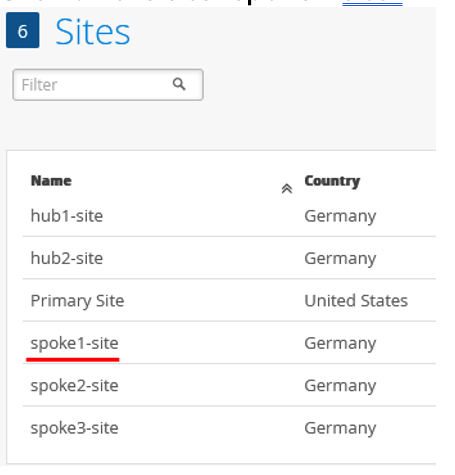
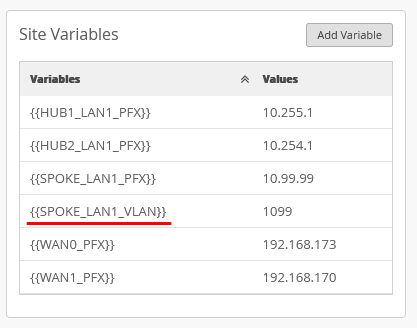
Click on the variable “{{SPOKE_LAN1_VLAN}}”.
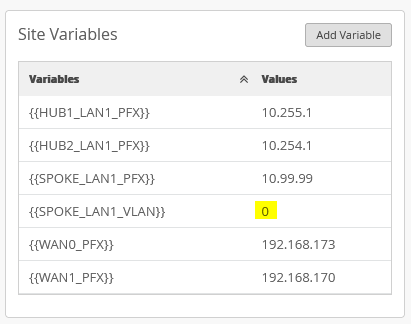
Change the Value=0 as we do not want this to be a tagged VLAN anymore and then “Save”.

Review that your change took place
 Save your changes
Now it is time to onboard your Switch and add it to your infrastructure please follow the steps in Chapter 2.2 above for a Switch.
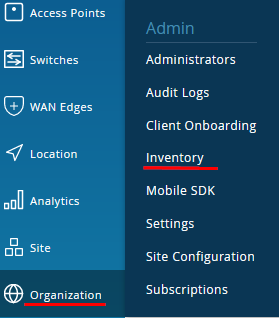
Go to Organization -> Inventory
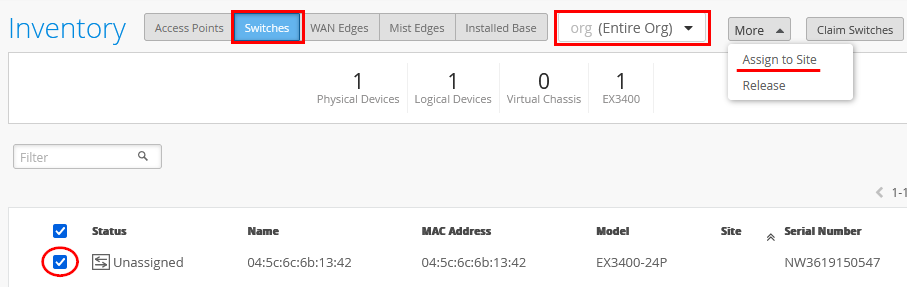
Make sure the Inventory-View is set to “(Entire Org)” as below and hit the refresh-Button on your Browser until you hopefully see all your devices. Then select your Switch and “Assign to Site”
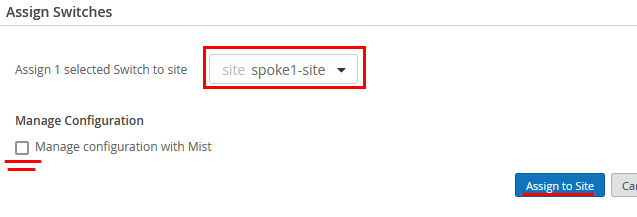
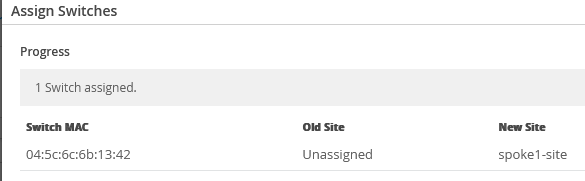
Select “spoke1-site” and do not manage the configuration directly before you “Assign to Site”.
A dialogue about that operation will be displayed.
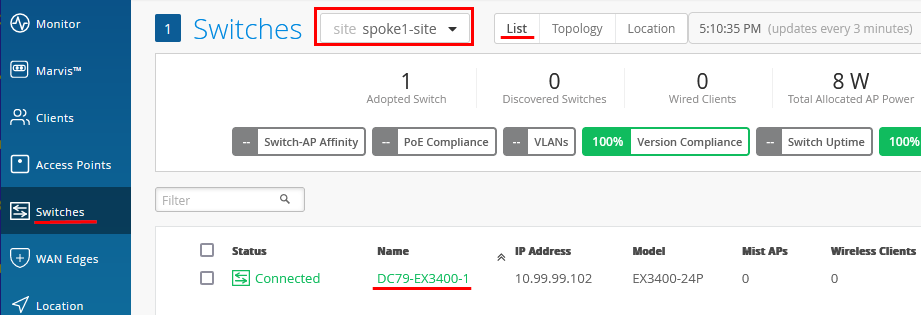
Go to Switches where site=”spoke1-site”
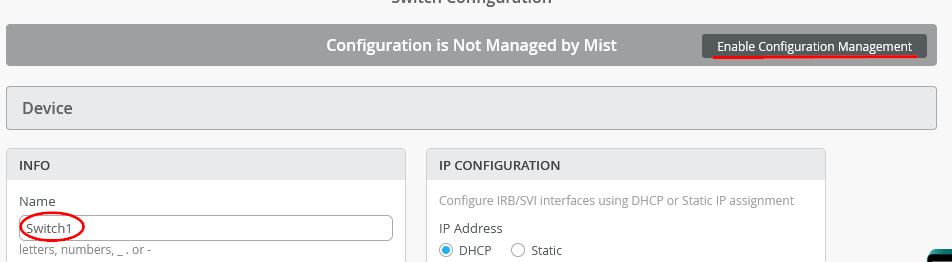
Verify or set the device name and “Enable Configuration Management”
Under Port Configuration add a new Port range.
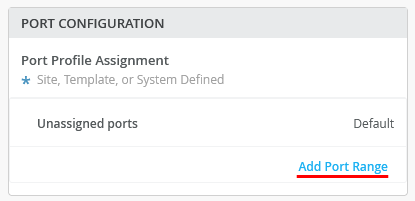
Now configure the following:
- Set the Port IDs=ge-0/0/1 as we have two ports for SSR.
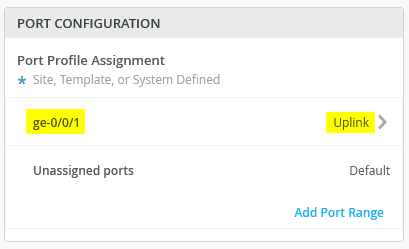
- Select the existing Configuration Profile=Uplink
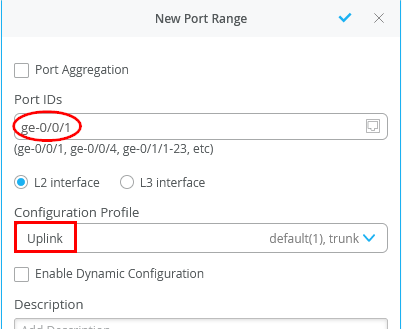
Check that your new Port Profile looks like the below now.
“Save” your changes.