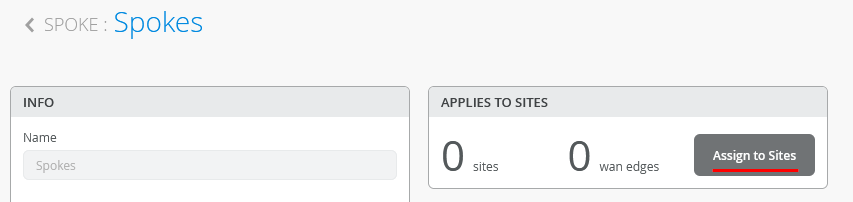
We go back to the Spoke Template and “Assign to Sites”.
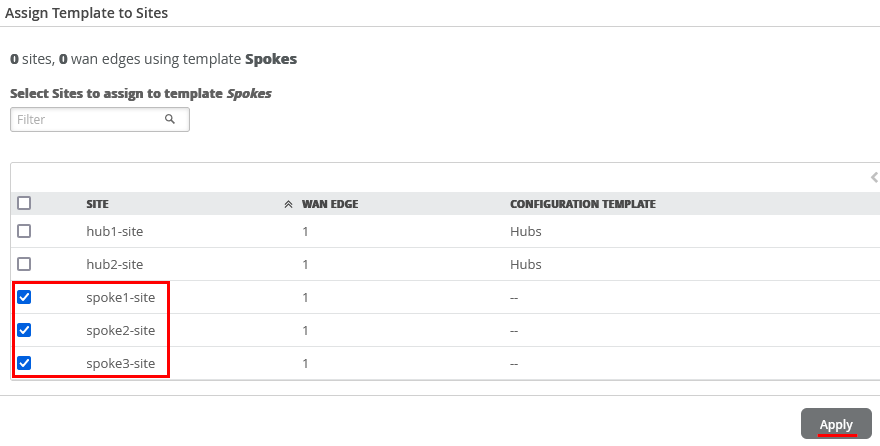
Then select only the three “spokeX-site” and “Apply”.
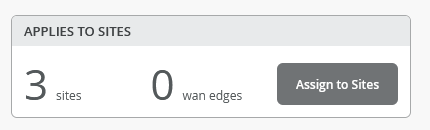
The result should indicate 3 Sites (the wan edges change when devices get assigned the these)
Onboard your Devices
Now it’s time to use the Claim or Adopt Method to onboard the devices and see them in the organization inventory. On-board your devices please and then continue here.
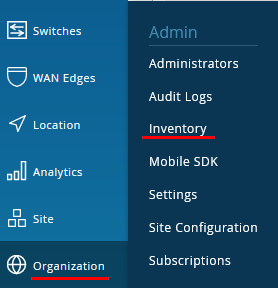
Go to Organization -> Inventory.
Click the Refresh-Button of your Browser until you see your 5 SRX-Devices similar to the below.
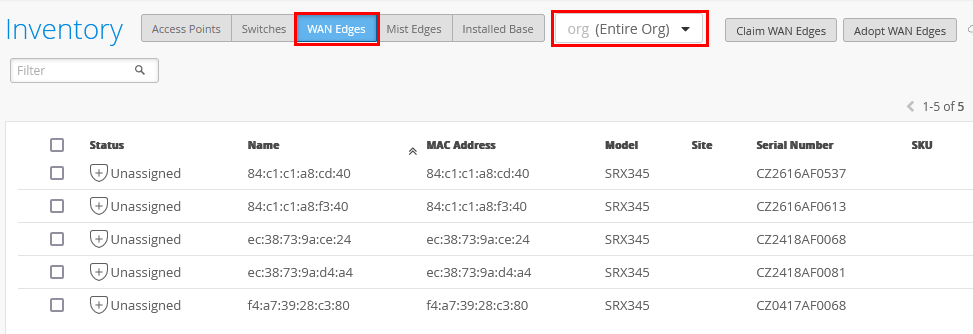
Should you have virtual Labs with vSRX based devices like above you either launch them one by one and assign them before you launch the next device or you figure the system mac address or serial number out to assign them to the right site. Below is an example how you may do this from the Lab-Host.
virsh console --force SPOKE1
.
login: root
Password: juniper123
Last login: Thu Jul 14 09:03:26 on ttyu0

--- JUNOS 21.4R1.12 Kernel 64-bit XEN JNPR-12.1-20211117.16f0122_buil
root@SPOKE1:~ # cli
root@SPOKE1> show chassis mac-addresses
MAC address information:
Public base address 4c:96:14:b7:32:00
Public count 128
Private base address 4c:96:14:b7:32:80
Private count 0

root@SPOKE1> show chassis hardware
Hardware inventory:
Item Version Part number Serial number Description
Chassis 69e6b8d61b7e VSRX
Midplane
System IO
Routing Engine VSRX-2CPU-4G memory
FPC 0 BUILTIN BUILTIN FPC
PIC 0 VSRX DPDK GE
Power Supply 0
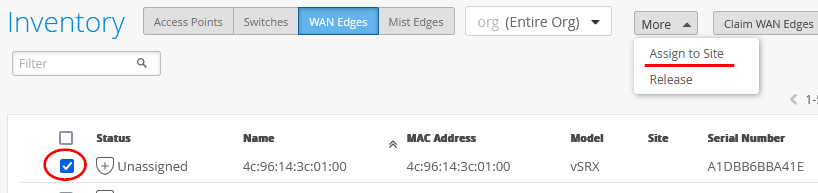
Each SRX now must be assigned one by one to an individual Site via “Assign to Site”.
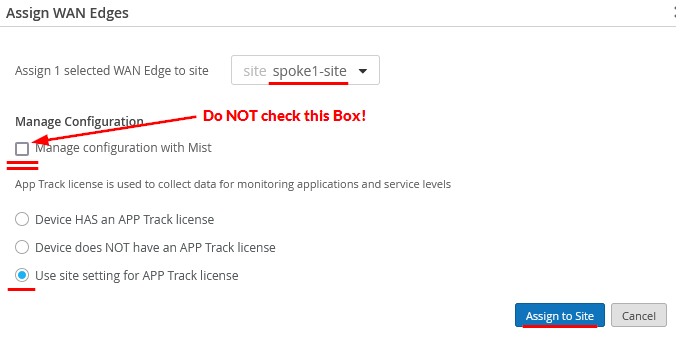
Select the Site for each device and make sure to NOT enable the configuration Management. If you forgot the Template creation and assignment to Site or something is not good with your template you may lose the configuration management by issuing the wrong config. The best practice is NOT to let Mist cloud straight start with the device configuration and enable it later when you see the device in the Site. Also check you have the default “Use site setting for APP Track license”. Then use “Assign to Site”.
A dialogue will inform you about your Task.
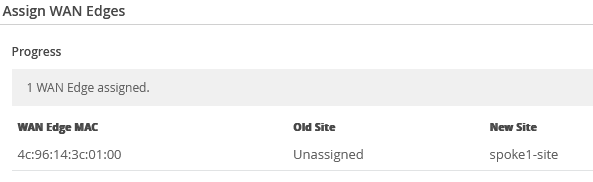
Do this one by one for every Device until you see something like the below.

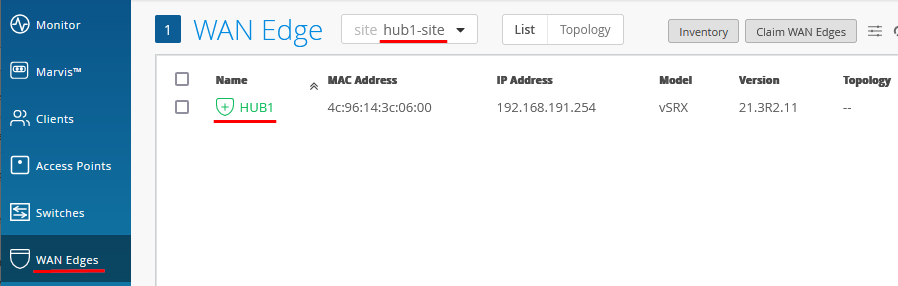
Wait ~5 Minutes for Mist Cloud to take over the device and get information from it like the host-name before you proceed.
Go to WAN Edges -> site=hub1-site and click on HUB1
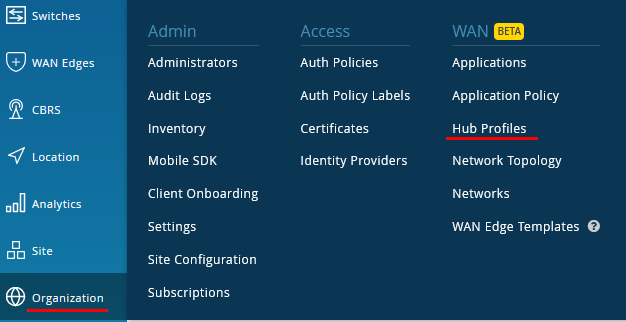
Assign Devices to Hub Profiles
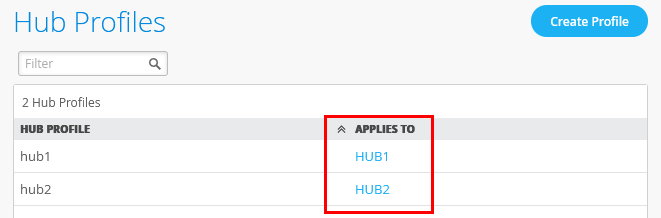
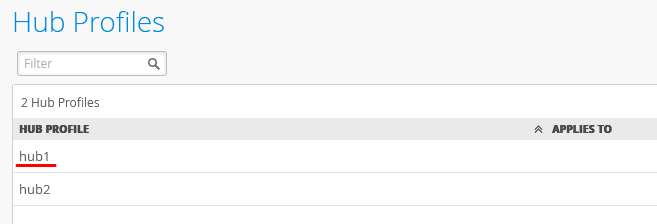
Now that we have two Devices in our two hub-sites we can assign them to the Hub-Profiles. Go to Organization -> Hub Profiles
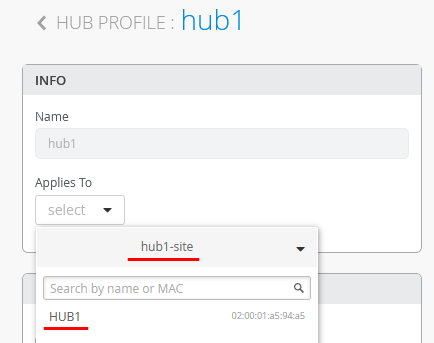
Click on the first profile
Under “Applies To” select “hub1-site” and “HUB1”
Click on “Save”
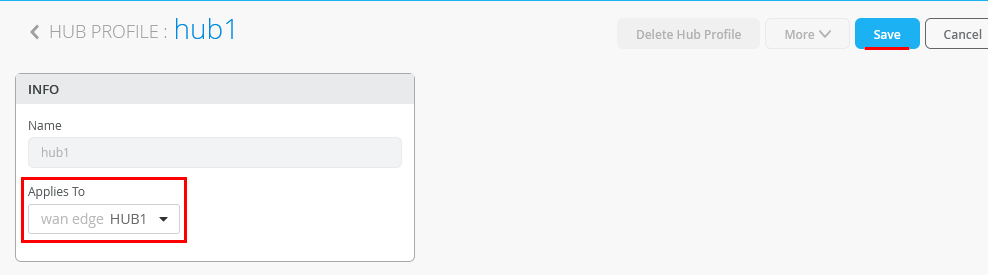
Repeat the process for the second hub in the second hub site so that in the end both hub profiles have their individual hub device assigned as shown below.