OSPF is an interior gateway protocol (IGP) that routes packets within a single autonomous system (AS). OSPF uses link-state information to make routing decisions, making route calculations using the shortest-path-first (SPF) algorithm (also referred to as the Dijkstra algorithm). Each router running OSPF floods link-state advertisements throughout the AS or area that contain information about that router’s attached interfaces and routing metrics. Each router uses the information in these link-state advertisements to calculate the least cost path to each network and create a routing table for the protocol.
Junos OS supports OSPF version 2 (OSPFv2) and OSPF version 3 (OSPFv3), including virtual links, stub areas, and for OSPFv2, authentication. Junos OS does not support type-of-service (ToS) routing.
How To configure Basic OSPF in two EX devices from switches page:
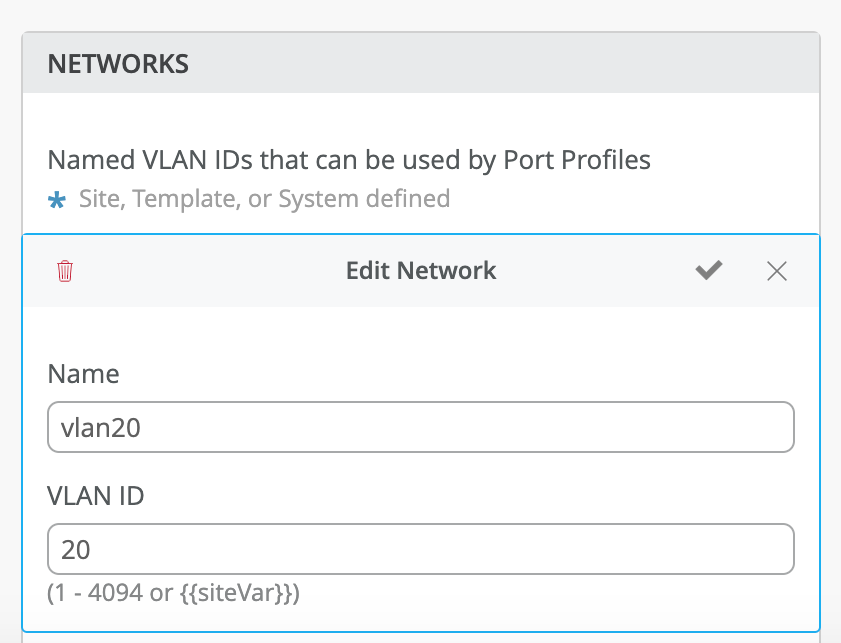
Step1: Configure a network in both the EX devices
Step 2: Add a port profile for the created network as shown below.
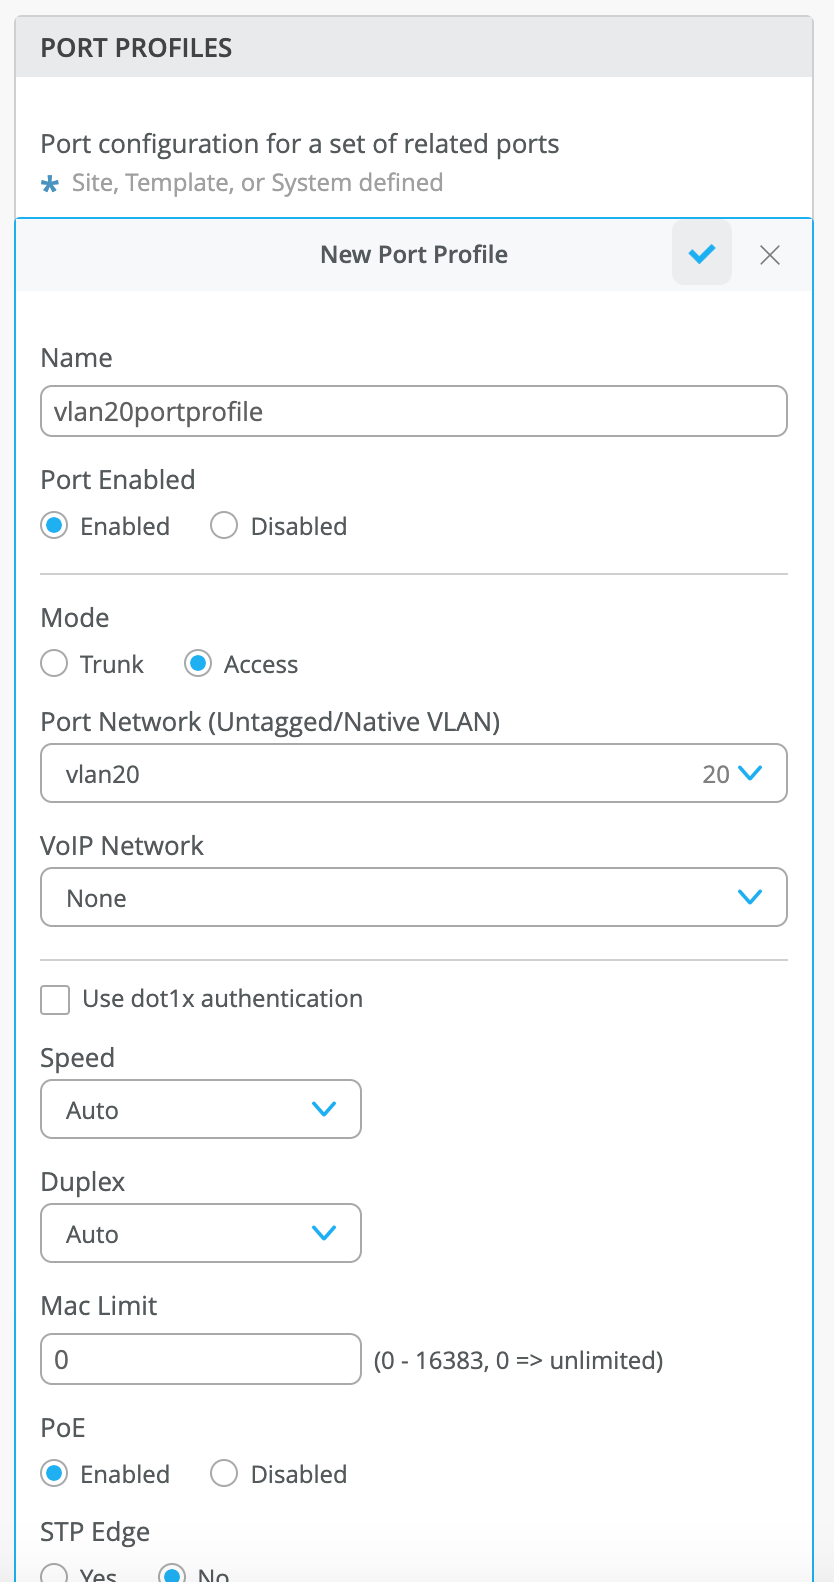
Step 3: Associate a port which is connected to another EX to the created port profile as shown.

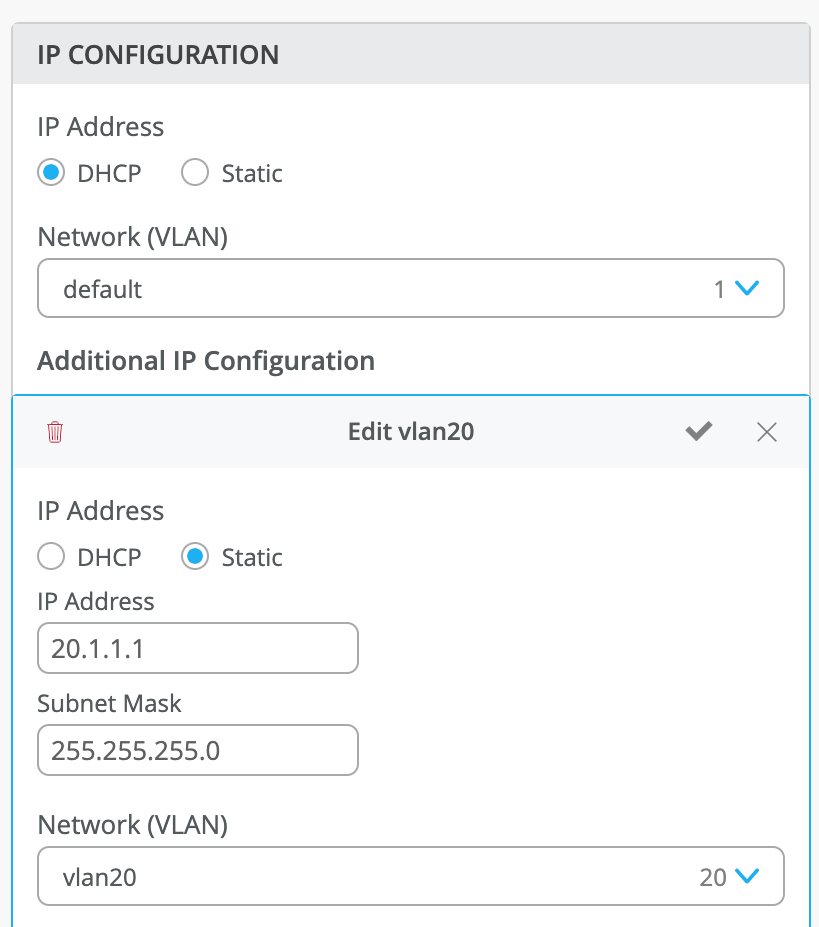
Step 4: Add IP address to the network which we created before (here vlan 20) in IP CONFIGURATION field
click on add ip configuration
In that select static
give IP adrs and subnet mask
select the network from the drop down in my case vlan 20
I am giving 20.1.1.1/24 in one device and 20.1.1.2/24 in another device
click on the right tick mark
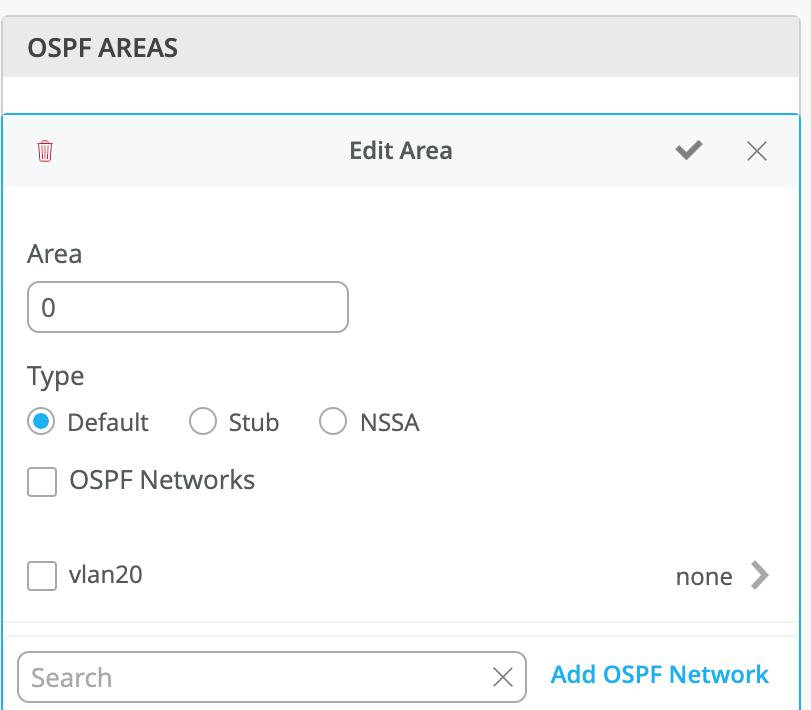
Step 5: IN OSPF are click on add area
Give any area number 0 or 1 or 2
click on add ospf networks and select the vlan which u have created for ospf (in my case vlan 20)
click the right mark to save network config then again click the right mark to save area config
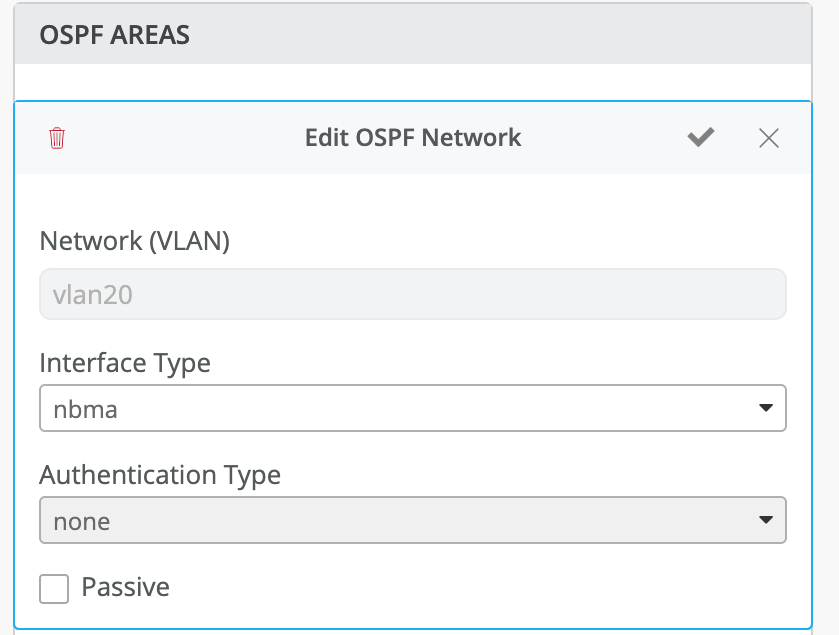
Step 6: change interface type and auth type if you want to test different test cases.
To change these settings click on the network which we added in the area field there you can be able to see the interface type drop down and authentication type drop down fields click on them and change it to whatever you wish to configure.
OSPF network configuration in detail:
- click on add ospf network
- select the network which you want to add
- check the right mark on the top
- Now click on the network which you added
- you will be able to edit auth type and interface type fileds there
- Interface type can be set to p2p,nbma,p2mp based on the requirement
- Auth type also we have three options md5,password and none we can set this based on the requirement
- if user selected none this should be set in both the devices
- If user selected password it will ask for a password to create. you can create a password with minimum 8 characters and maximum 64 characters on both the devices
- password should match in both the devices then only ospf neghbourship will be up
- If user selected md5 then it will ask for key and value to enter- enter a key from 0 to 255 range and value must be 8 to 64 characters
- this key and value should be same on both the devices otherwise neghbourship will not be up.
- attaching the screen recording
- ospfrecording.mp4
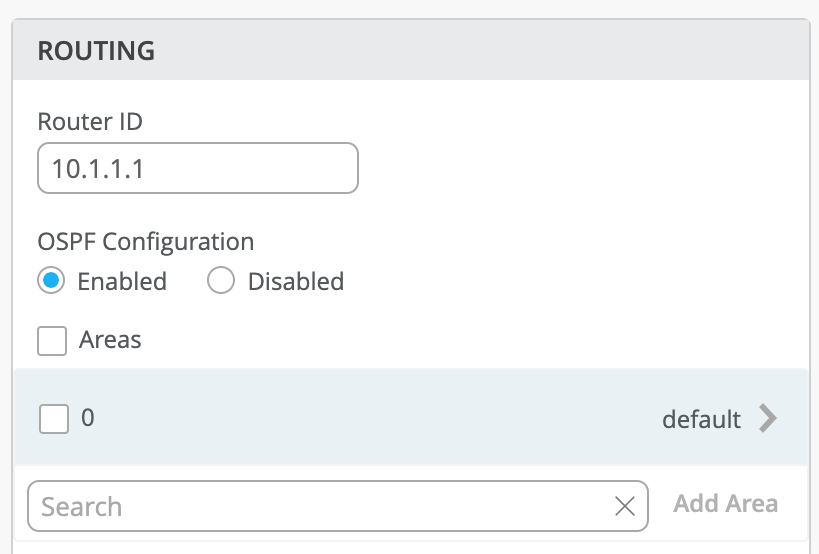
Step 7: Add router ID in routing field
In my case adding 10.1.1.1
Step 8: Enable ospf
Step 9: click on add area and click on whichever area you created before
and click on the right mark
Step 10: Save all these configuration by clicking on the save button on the top right corner of the UI page
Do the above config on the other switch also and check ospf neghbourship it should be FULL
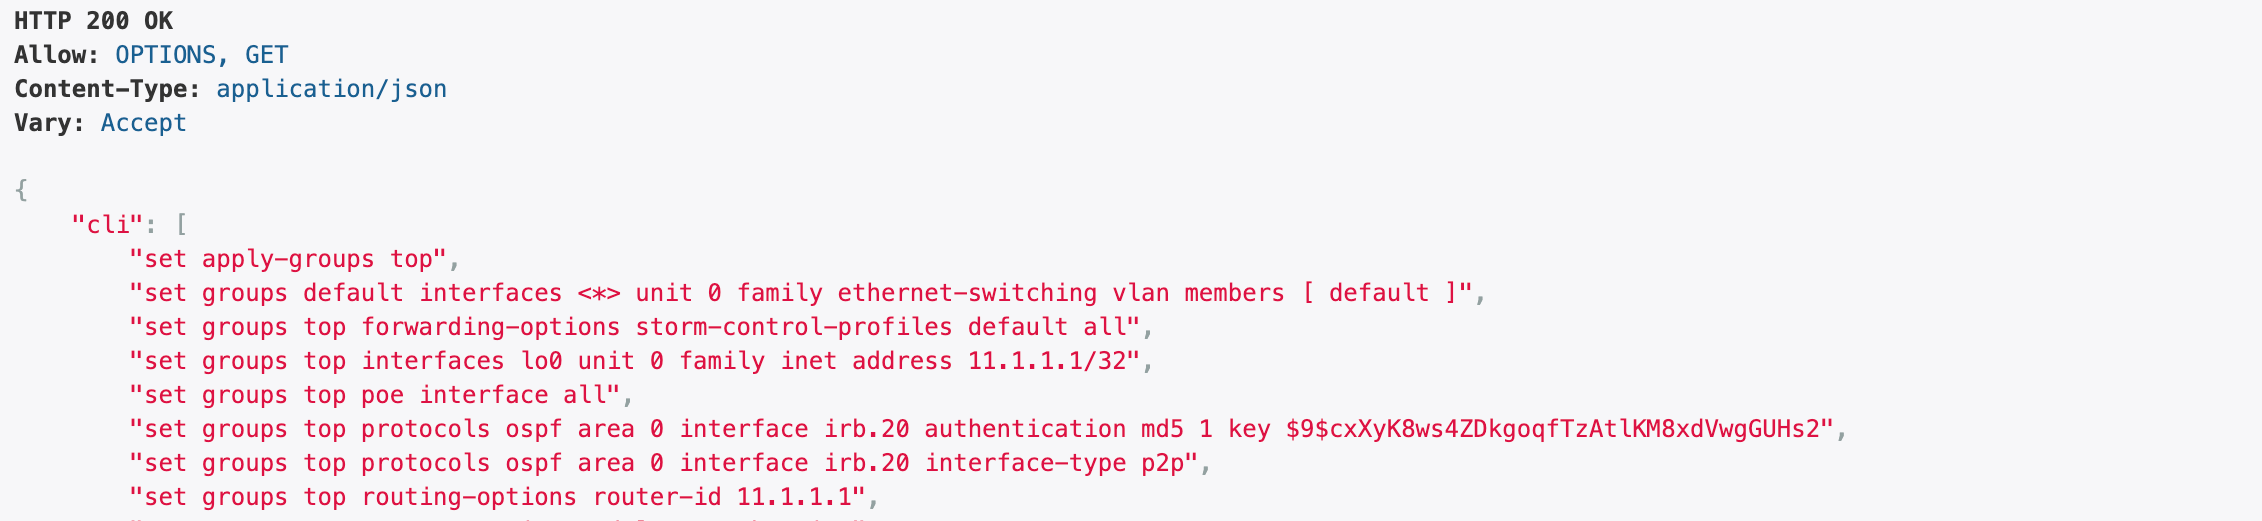
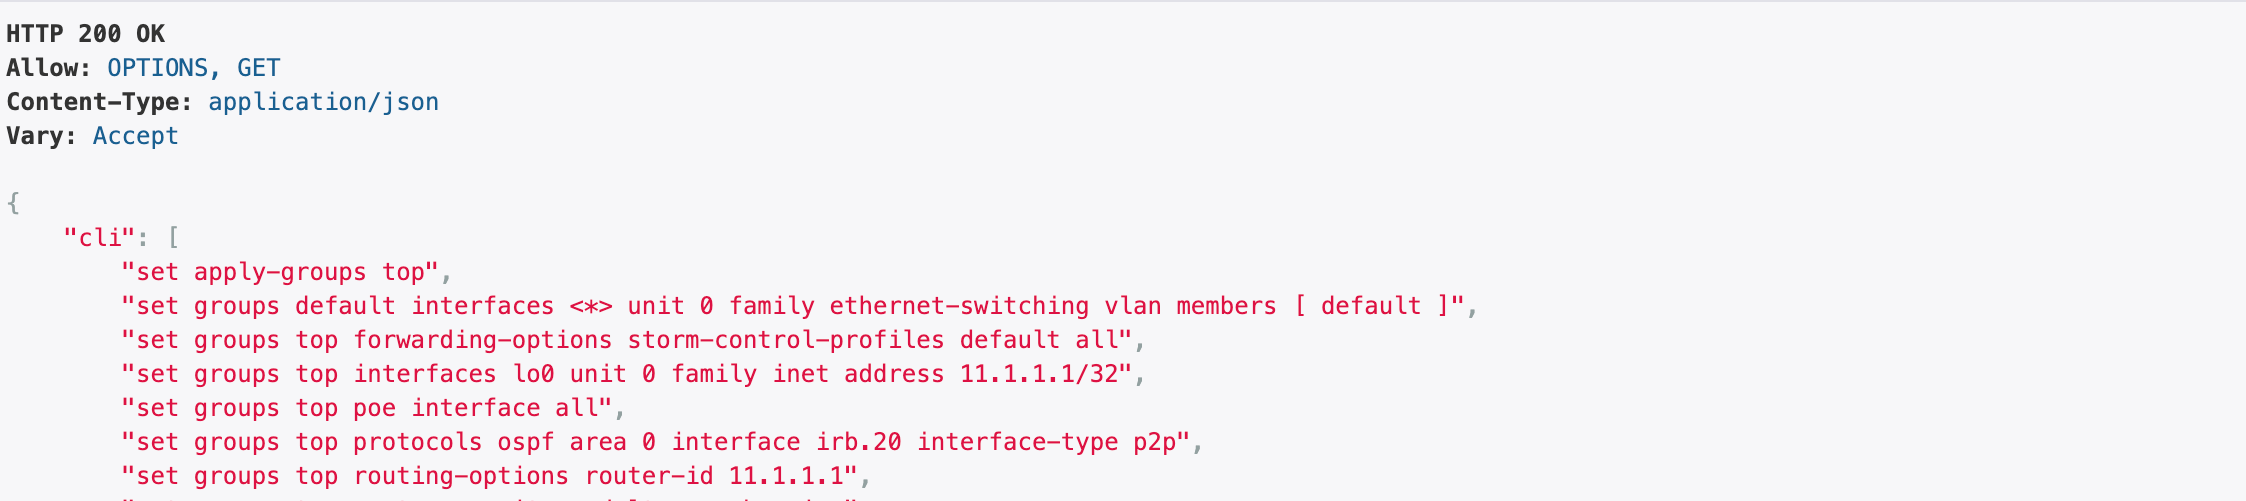
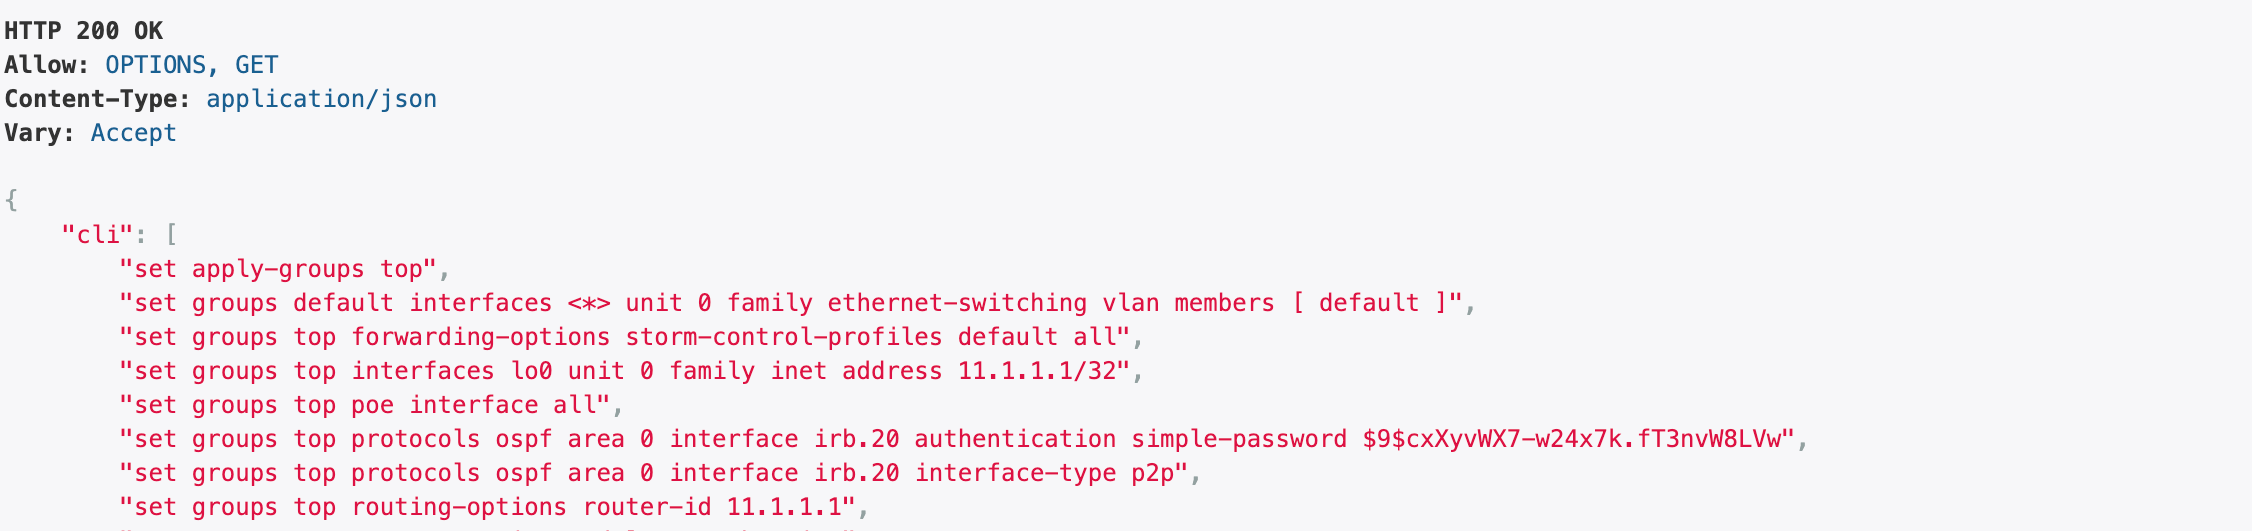
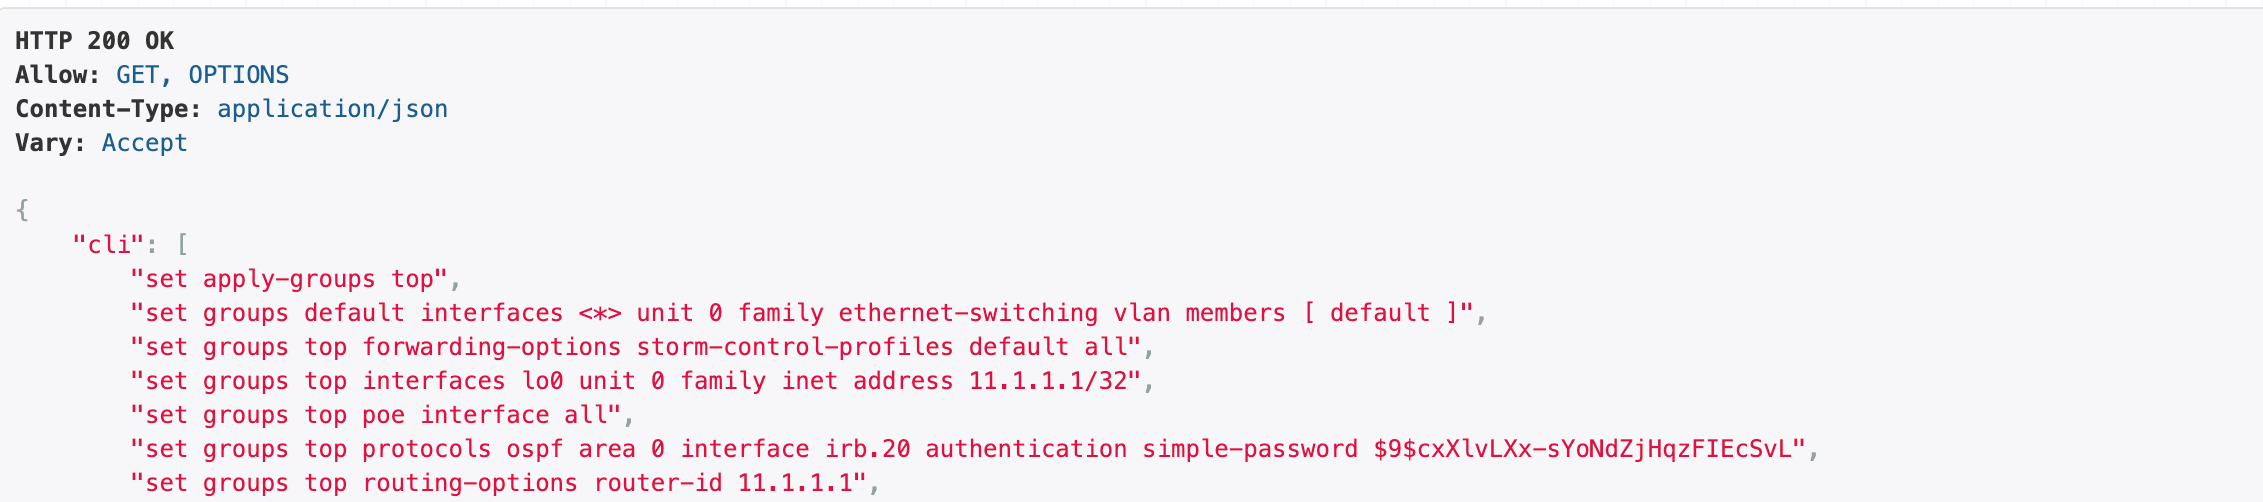
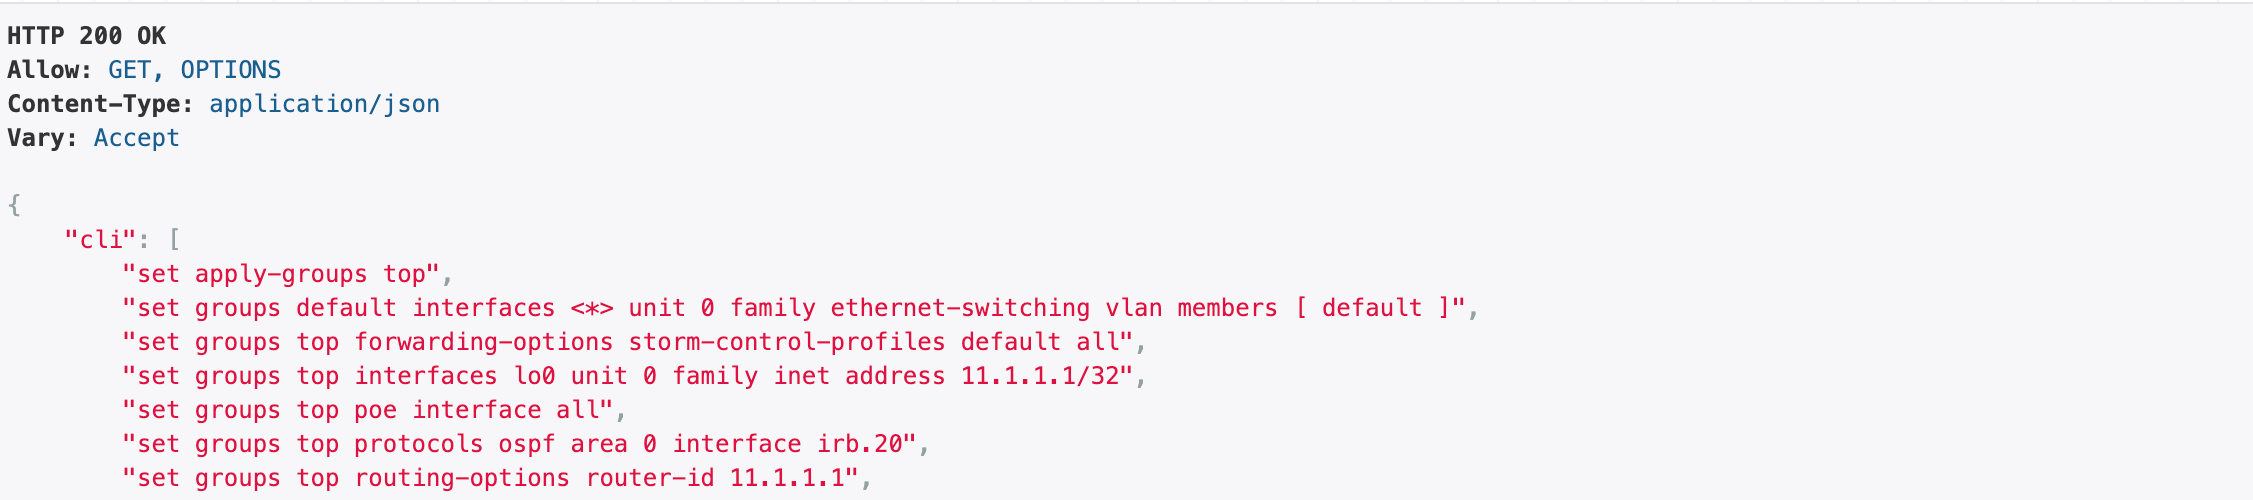
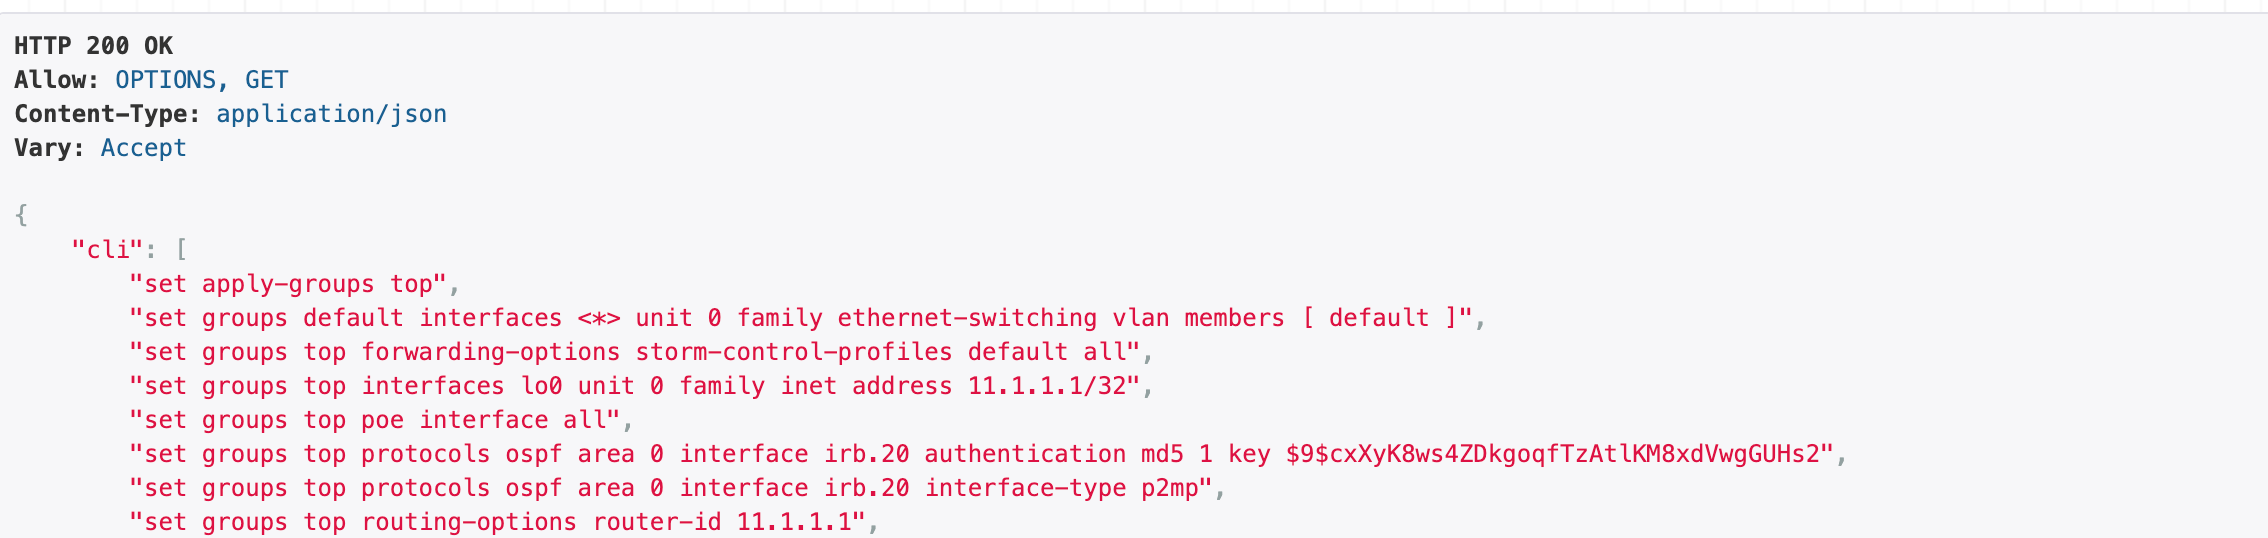
Adding config_cmd snippets:
when interface type as p2p and auth type is MD5
when interface type as p2p and auth type is None
when interface type as p2p and auth type is password
when interface type as nbma and auth type is password
when interface type as nbma and auth type is none
when interface type as nbma and auth type is MD5

when interface type as p2mp and auth type is MD5
when interface type as p2mp and auth type is none

when interface type as p2mp and auth type is password

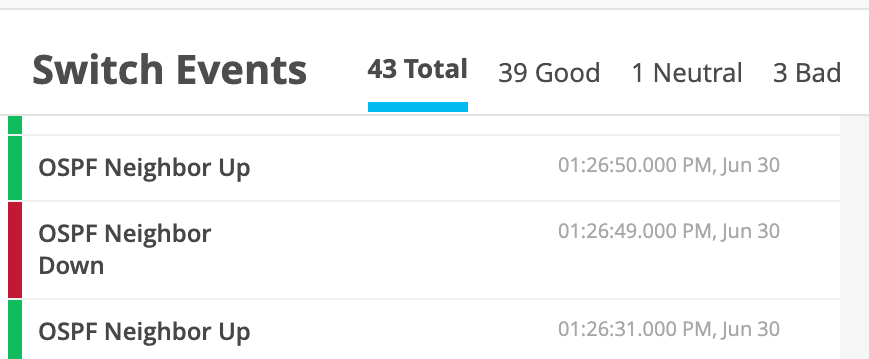
OSPF Events
Configure OSPF AREA from network template level:
- Go to network
- click on switch configuration
- select a site to which switch the config is applied from
- In that page you can see OSPS AREA
- click on add area
- Give any area number which you wish to configure
- Add ospf network and select the network and click on the tick mark adn save the network config
- Now click again the tick mark and save the area config
- Now save the entire configure by clicking the save button.

Configure OSPF AREA from org template level:
- Go to organization
- click on switch template
- select a site to which switch the config is applied from
- In that page you can see OSPS AREA
- click on add area
- Give any area number which you wish to configure
- Add ospf network and select the network and click on the tick mark adn save the network config
- Now click again the tick mark and save the area config
- Now save the entire configure by clicking the save button.