1. You will need an Okta account (it is possible to sign up for an Okta developer account following this link).
2. Under Application > Browse App Catalog

3. Search for Mist Cloud native application and select Add Integration:

Select “Do not display application icon to users” and click Done.

4. On the next page navigate to Sign On tab and select “View SAML setup instructions”:

5. On the next page you will see required setup instructions. Leave this tab opened, we will need it when configuring WLAN on the Mist dashboard.

6. Create an WLAN with SSO configuration (follow screenshot below).
Copy/Paste Issuer, Certificate and SSO URL into the respective fields under WLAN configuration. Also set Name ID format as Email and Signing Algorithm as SHA256:

Important: You must add certain Okta destinations into Allowed Hostnames field to allow unauthorized client to authenticate.
If you are using any additional MFA authentication that are outside of Okta (e.g. Duo push or Microsoft push), you will need to add those additional hostnames as well.
At a minimum you should allow: oktacdn.com, okta.com

Note: Portal SSO URL will be generated once you save the WLAN and then re-open it. Copy the Portal SSO URL.

7. In Okta app, navigate to Sign On tab, click Edit Settings and paste Portal SSO URL in the ACS URL field:


8. Finally, assign the App to users or groups:


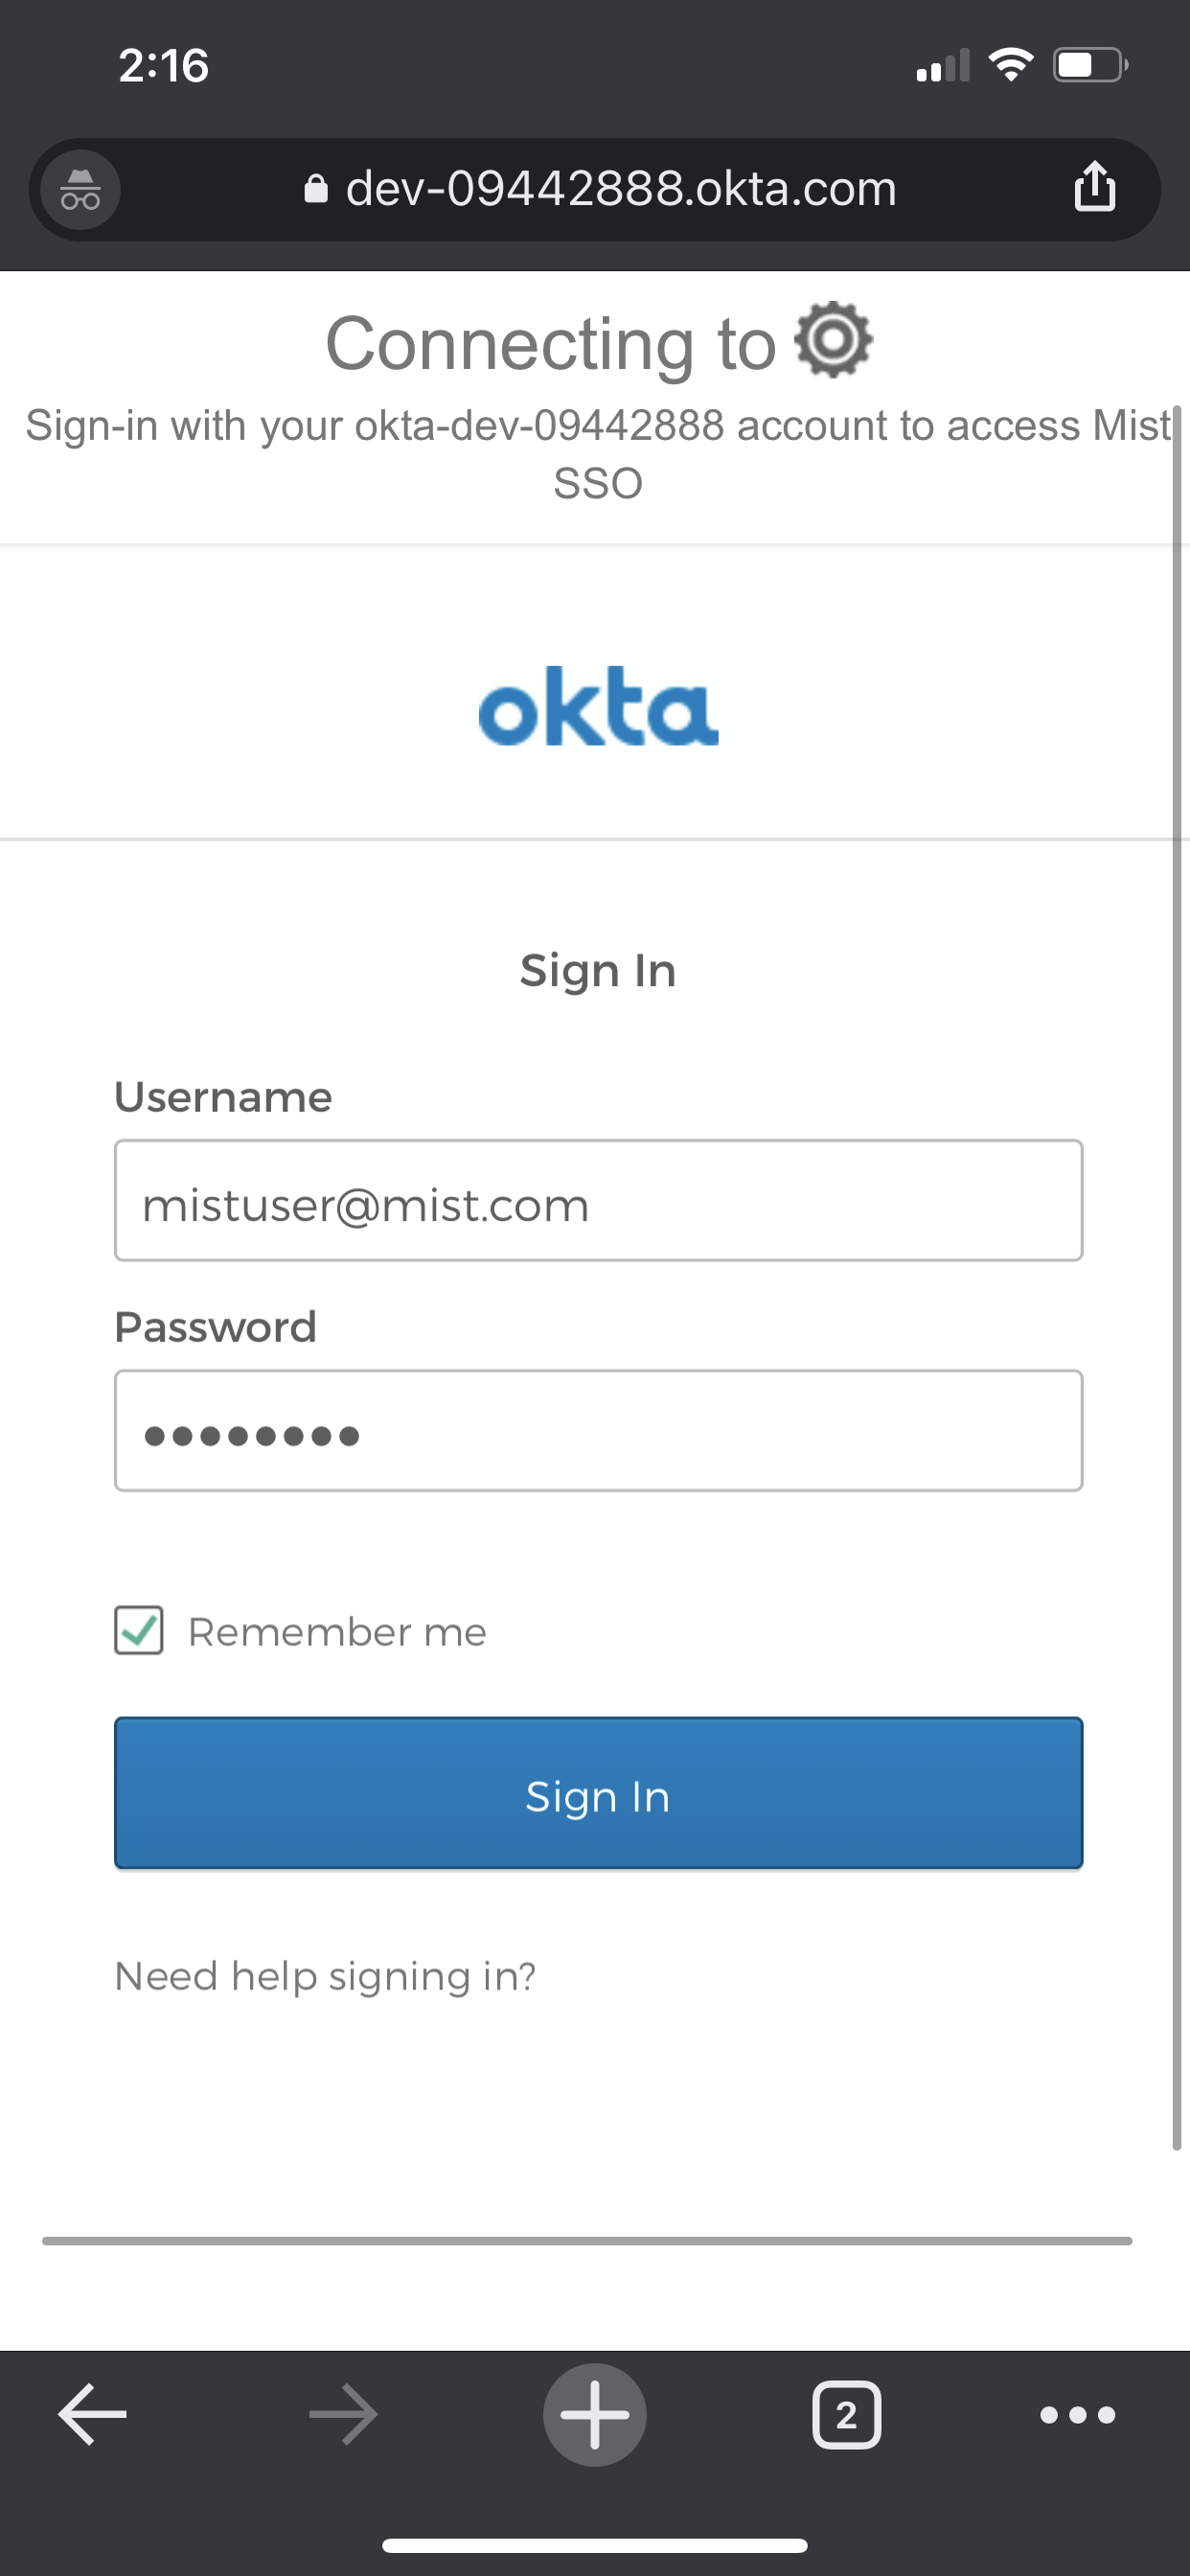
9. Now connect a client to the SSID, you should be automatically redirected to Okta Sign-In page: